
IP白名单配置
入口:集成应用>开放管理>应用>授权调整>IP白名单配置
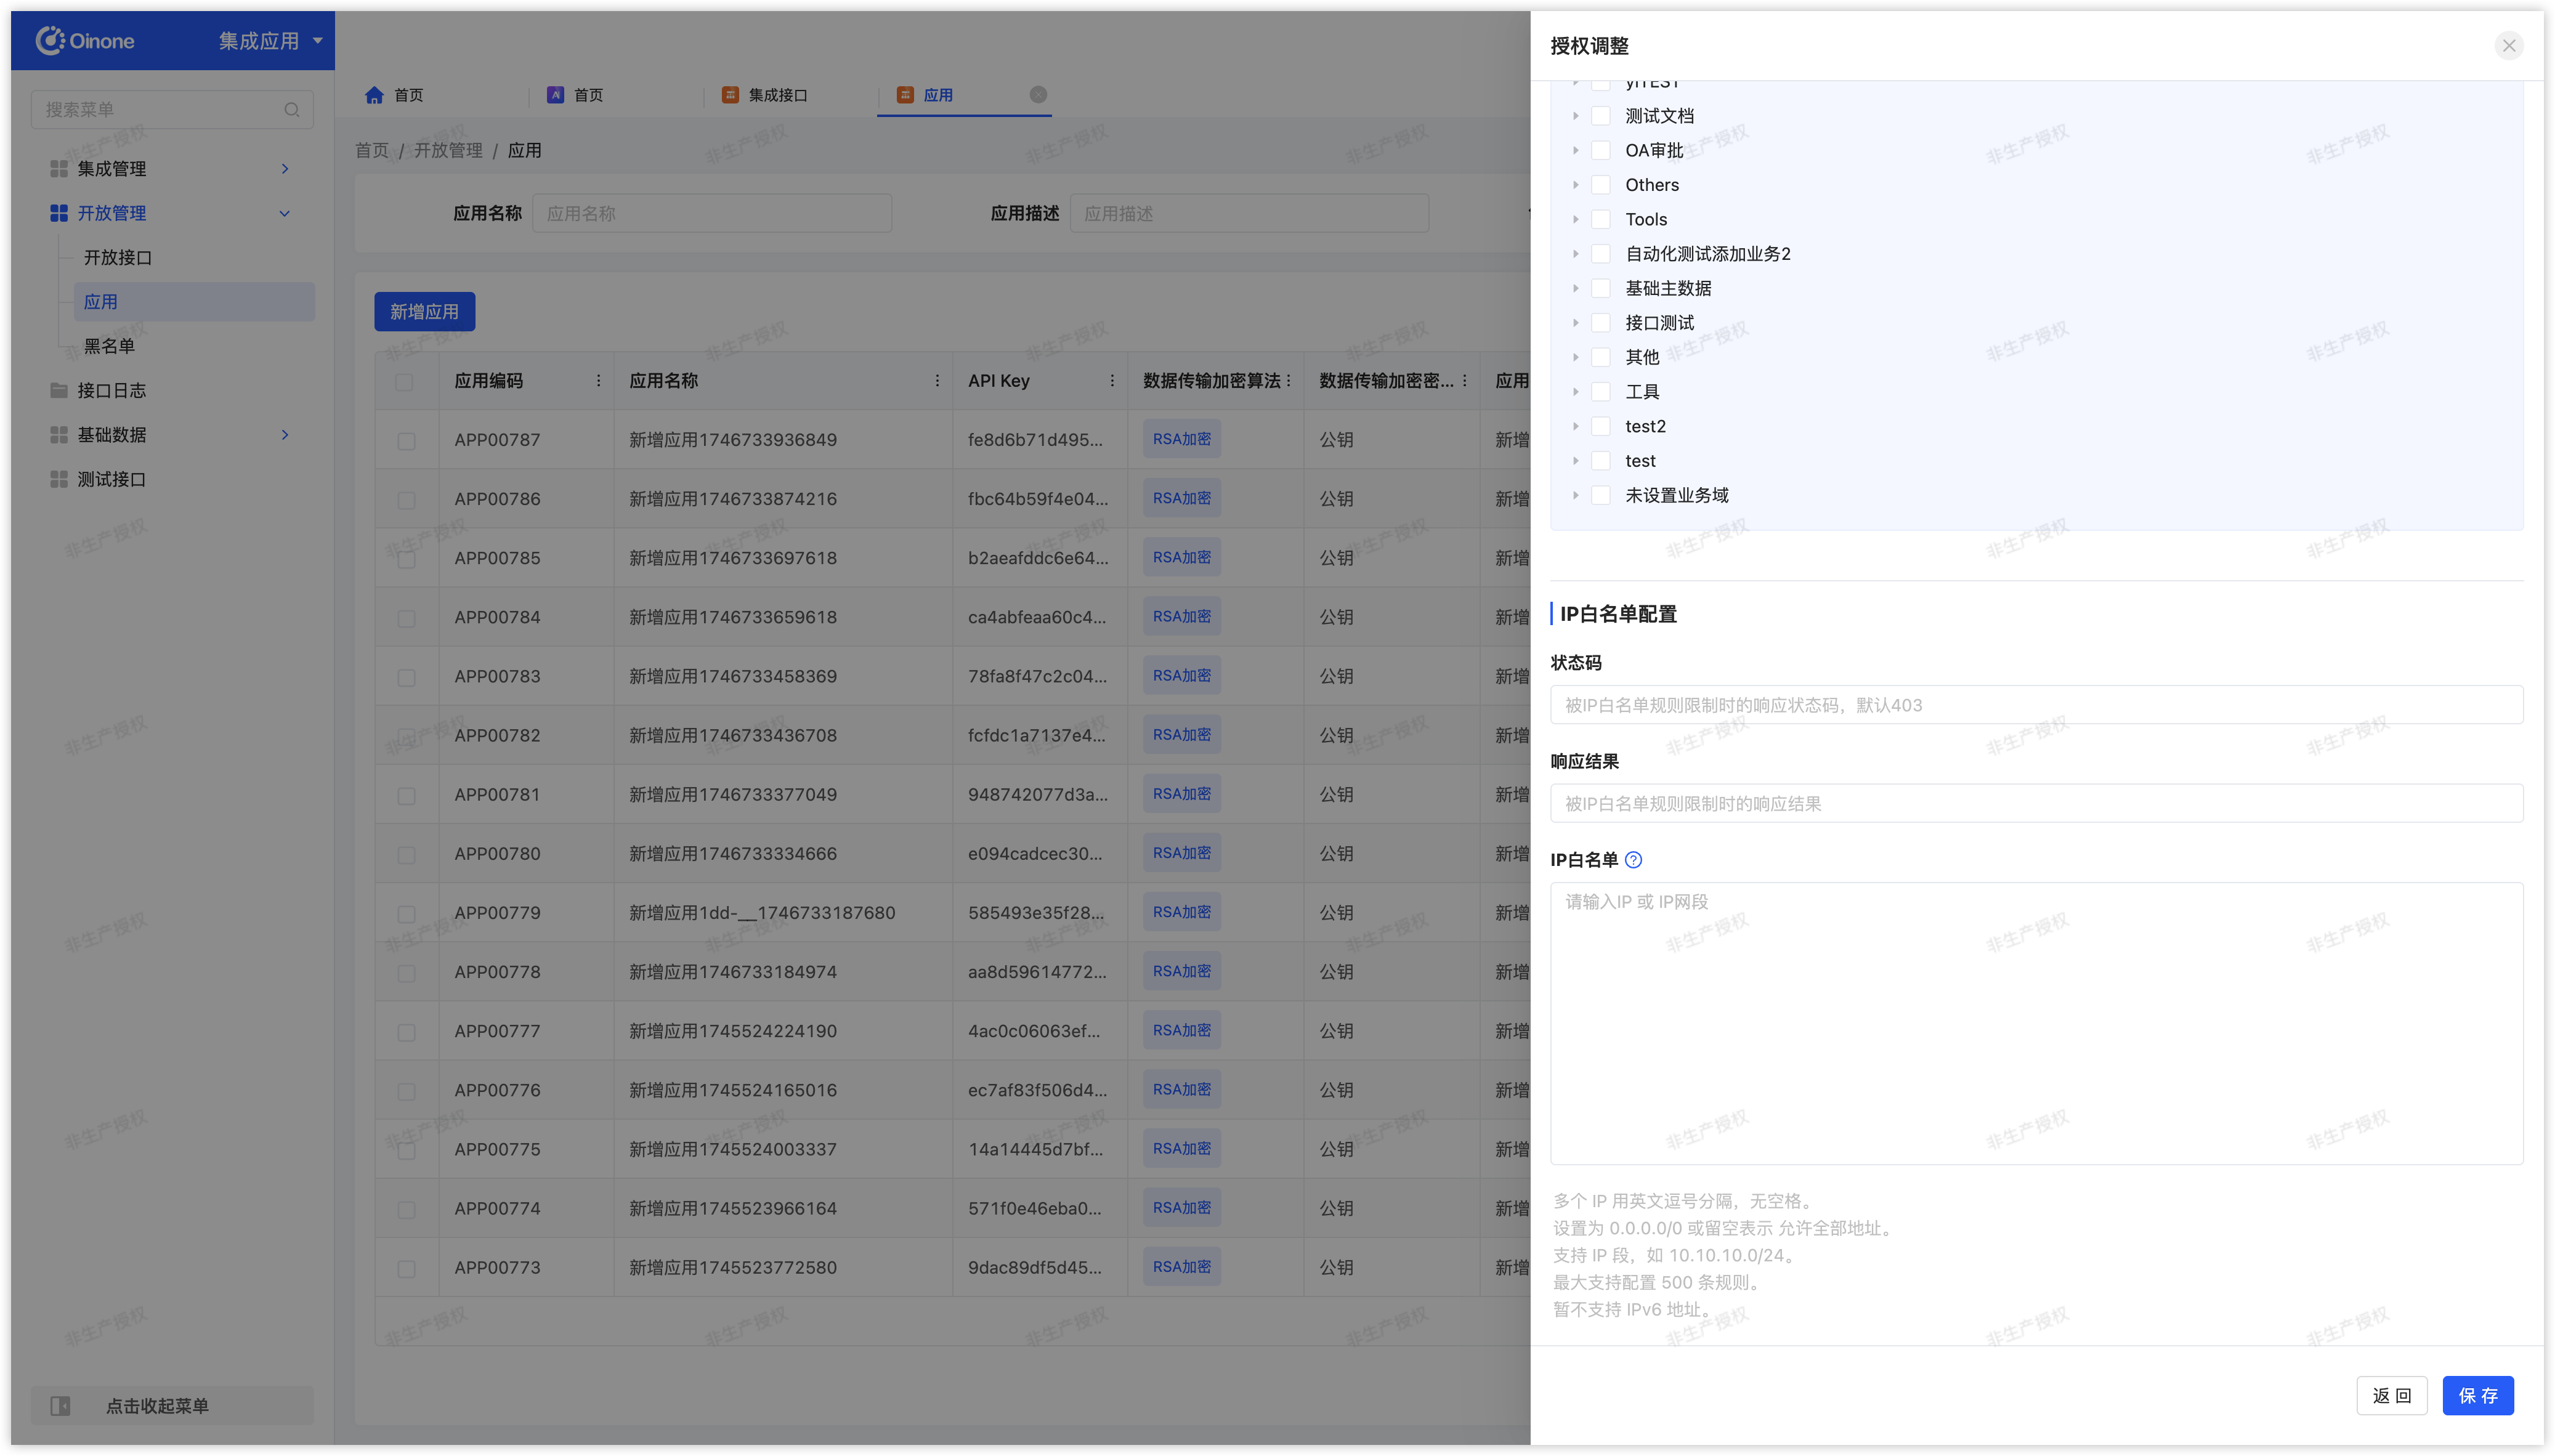

IP白名单取请求头中的X-Forwarded-For属性的最后一个值,X-Forwarded-For以英文,分割ip地址。
X-Forwarded-For: clientIP, proxy1IP, proxy2IP, ..., proxyNIP根据 RFC 7239 标准所述,X-Forwarded-For含义如下:
- clientIP:最左边的 IP,表示最初发起请求的客户端 IP(即真实用户 IP)。
- proxyXIP:从左往右依次为中间各级代理服务器的 IP。
- 最右边的 IP:表示离当前 Web 服务器最近的一层代理服务器(IP白名单拦截的此IP)。
Nginx配置示例
以Nginx为例,为确保X-Forwarded-For拿到的是真实的IP地址,需要增加配置。
proxy_set_header X-Forwarded-For $proxy_add_x_forwarded_for;IP黑名单配置
入口:集成应用>开放管理>应用>黑名单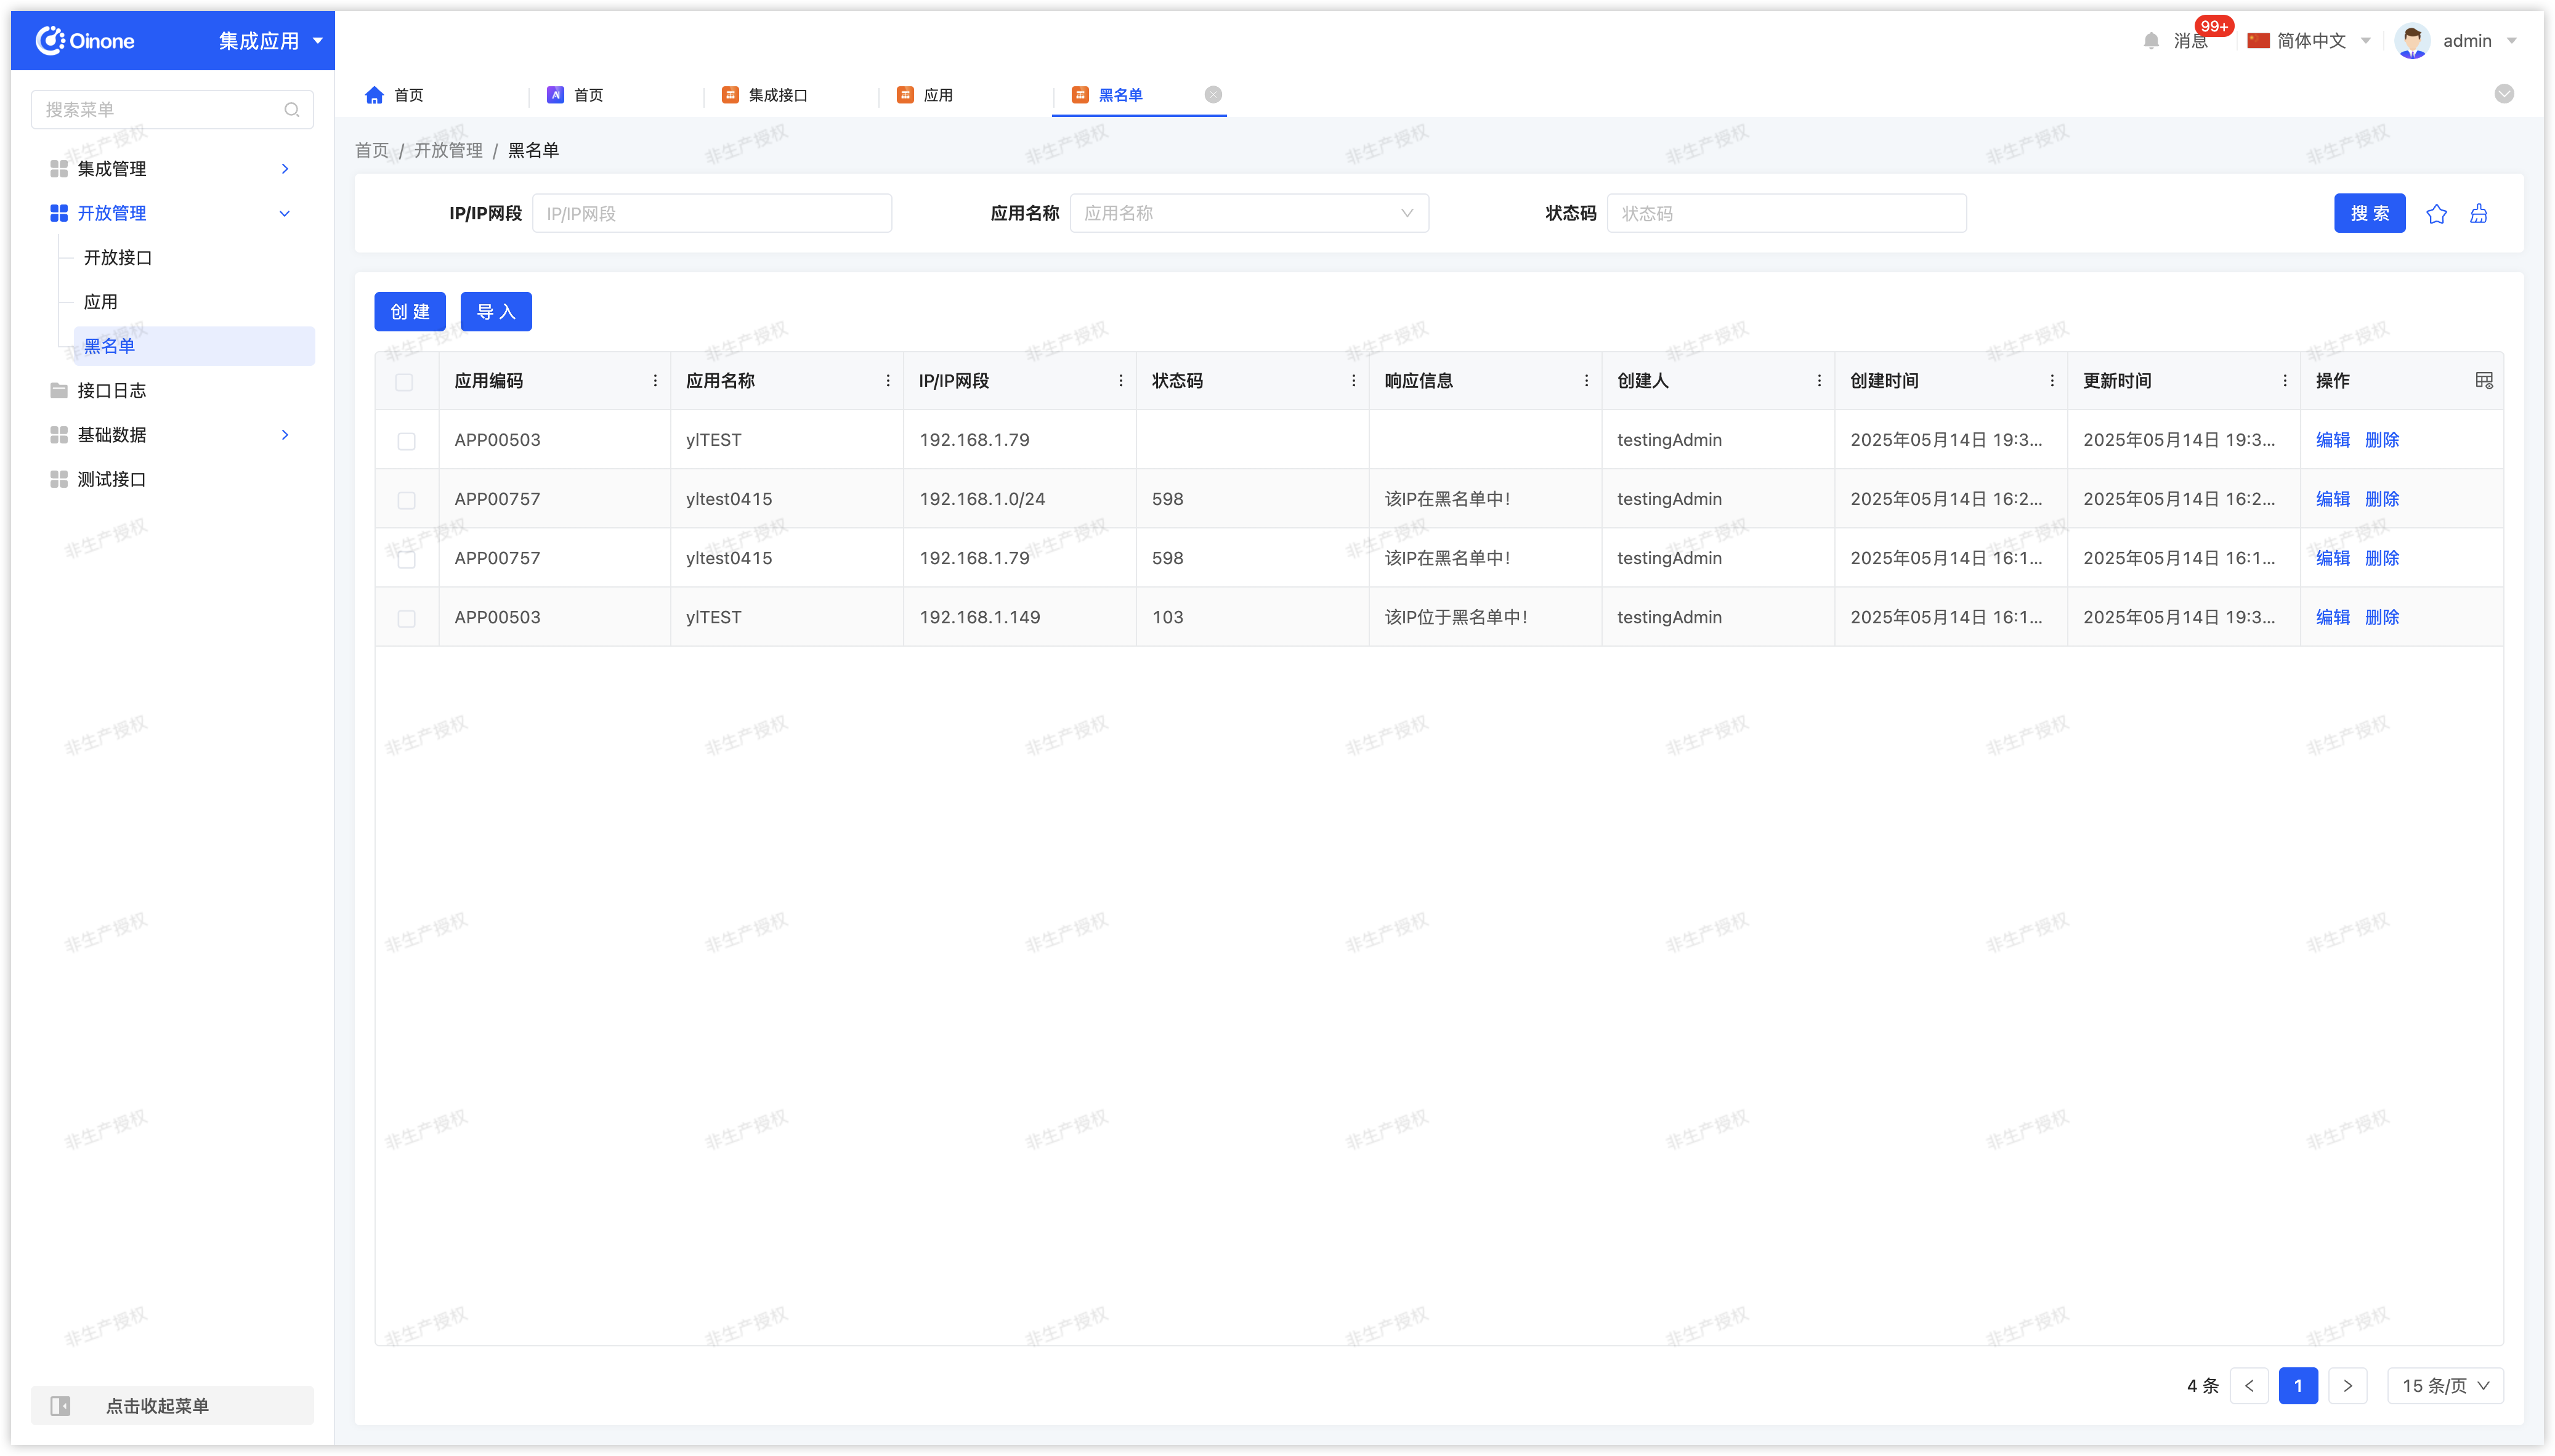
- 取值来源:从请求头
X-Real-IP中提取客户端 IP。 - 验证逻辑:
- 若
X-Real-IP不存在,直接拦截并返回异常提示:未获取到真实IP地址。 - 检查提取的 IP 是否在阻止列表中。
- 若
相关文章
Oinone社区 作者:夜神月原创文章,如若转载,请注明出处:https://doc.oinone.top/other/21148.html
访问Oinone官网:https://www.oinone.top获取数式Oinone低代码应用平台体验