
为组件加自定义class,用该class作为父选择器写特定的css样式
以form为例,自定义了以下class
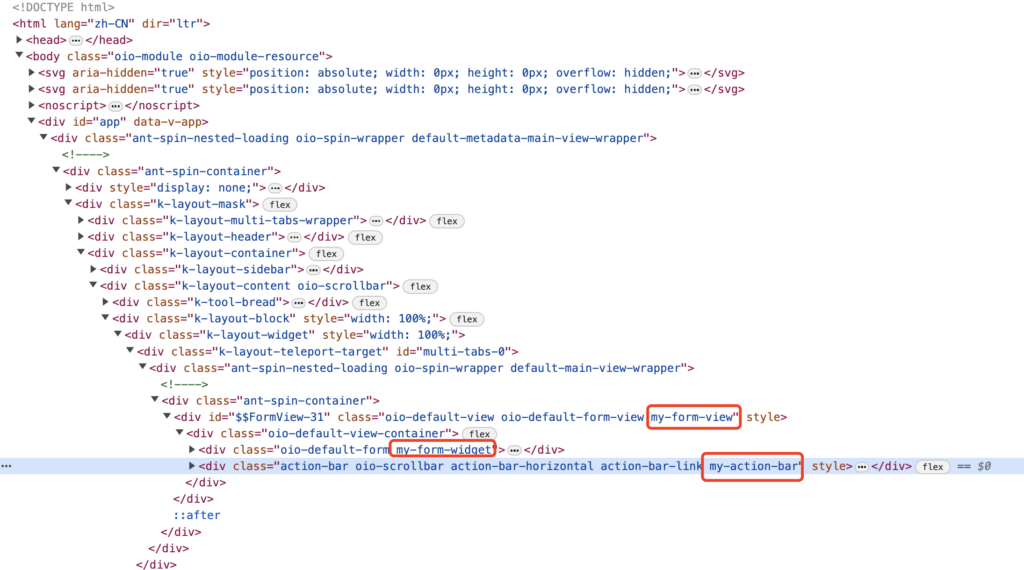
<view/>标签的表单视图(FormView)组件<element/>标签的form(FormWidget)组件<element/>标签的actionBar(ActionBarWidget)组件
import { registerLayout, ViewType } from '@kunlun/dependencies';

export const install = () => {
  registerLayout(
    `
    <view type="FORM" class="my-form-view">
        <element widget="form" slot="form" class="my-form-widget">
            <xslot name="fields" slotSupport="pack,field" />
        </element>
        <element widget="actionBar" slot="actionBar" class="my-action-bar" slotSupport="action" >
            <xslot name="actions" slotSupport="action" />
        </element>
    </view>
    `,
    {
      viewType: ViewType.Form,
      model: 'resource.k2.Model0000000109',
      actionName: 'uiViewb2de116be1754ff781e1ffa8065477fa'
    }
  );
};

install();查看修改后的页面html结构

编写样式的css
.my-form-view .oio-form {
    /** TODO **/
}
.my-form-widget .oio-row {
    /** TODO **/
}
.my-action-bar .oio-col {
    /** TODO **/
}
Oinone社区 作者:nation原创文章,如若转载,请注明出处:https://doc.oinone.top/frontend/di-wu-yi-ti/13704.html
访问Oinone官网:https://www.oinone.top获取数式Oinone低代码应用平台体验