
Oinone项目引入Nacos作为注册中心
- Oinone项目的默认dubbo注册中心为zk, 实际项目中有可能要求用Nacos作注册中心。
- Oinone默认引入的nacos-client-1.4.1,低版本不支持认证配置;该客户端版本支持Nacos服务1.x的和2.x的版本
一、项目中增加依赖
项目主pom引入依赖。
<dependency>
    <groupId>org.apache.dubbo</groupId>
    <artifactId>dubbo-registry-nacos</artifactId>
    <version>2.7.22</version>
</dependency>
项目的boot工程的pom引入依赖
<dependency>
    <groupId>org.apache.dubbo</groupId>
    <artifactId>dubbo-registry-nacos</artifactId>
</dependency>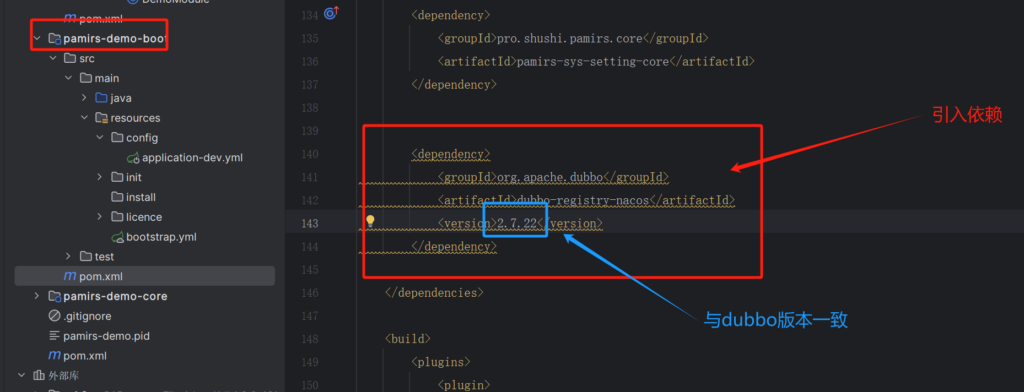

二、配置修改
修改dubbo服务注册到nacos
bootstrap.yml文件的配置,或者application.yml文件中修改dubbo的配置
dubbo:
  application:
    name: pamirs-demo
    version: 1.0.0
  registry:
    id: pamirs-demo-registry
    address: nacos://192.168.0.118:8848
    username: nacos # 认证的用户名(根据情况自行修改),未开启认证可以不需要配置username和password
    password: nacos # 认证的密码(根据情况自行修改),未开启认证可以不需要配置username和password
    # dubbo使用nacos的注册中心往配置中心写入配置关闭配置
    use-as-metadata-center: false
    use-as-config-center: false
  config-center:
    address: nacos://192.168.0.118:8848
    username: nacos # 认证的用户名(根据情况自行修改),未开启认证可以不需要配置username和password
    password: nacos # 认证的密码(根据情况自行修改),未开启认证可以不需要配置username和password
  metadata-report:
    failfast: false # 关闭错误上报的功能
    address: nacos://192.168.0.118:8848
    username: nacos # 认证的用户名(根据情况自行修改),未开启认证可以不需要配置username和password
    password: nacos # 认证的密码(根据情况自行修改),未开启认证可以不需要配置username和password
  protocol:
    name: dubbo
    port: -1
    serialization: pamirs
  scan:
    base-packages: pro.shushi
  cloud:
    subscribed-services:
其他
Oinone社区 作者:望闲原创文章,如若转载,请注明出处:https://doc.oinone.top/kai-fa-shi-jian/5835.html
访问Oinone官网:https://www.oinone.top获取数式Oinone低代码应用平台体验