开源日志平台:Graylog部署及接入

一、部署Graylog

Graylog总共需要3个服务:graylog服务端、mongodb(存储graylog的配置)、elasticSeach(存储日志)
本文档部署方案介绍:

  • graylog服务端、mongodb(存储graylog的配置)使用docker-compose部署
  • elasticSeach 引用外部地址

1. 安装docker、安装docker-compose

这部分直接参考互联网上的教程:链接

2. 通过docker-compose部署graylog

服务器上新建一个 graylog的目录,并在该目录下新建 docker-compose.yml
开源日志平台:Graylog部署及接入

version: '3'
services:
  mongo:
    image: mongo:5.0
    container_name: mongo
    volumes:
      - /data/docker/graylog/mongo_data:/data/db
    networks:
      - graylog
    ports:
      - 27017:27017
    environment:
      - TZ=Asia/Shanghai
    healthcheck:
      test: ["CMD", "mongo", "--eval", "db.adminCommand('ping')"]
      interval: 30s
      timeout: 10s
      retries: 5

  graylog:
    image: graylog/graylog:5.2
    container_name: graylog
    depends_on:
      mongo:
        condition: service_healthy
    environment:
      - GRAYLOG_ROOT_PASSWORD_SHA2=xxxxx #sha2生成的密码,可以服务器通过命令获取:echo -n yournewpassword | sha256sum
      - GRAYLOG_PASSWORD_SECRET=xxxxx #随机生成的secret,长度超过32位,可以自己生成
      - GRAYLOG_HTTP_ENABLE_TLS=false
      - GRAYLOG_TIMEZONE=Asia/Shanghai
      - GRAYLOG_MONGO_URI=mongodb://mongo:27017/graylog
      - GRAYLOG_ELASTICSEARCH_VERSION=7
      - GRAYLOG_ELASTICSEARCH_HOSTS=http://es账户:es密码@es地址:9200
      - GRAYLOG_ELASTICSEARCH_USER=es账户
      - GRAYLOG_ELASTICSEARCH_PASSWORD=es密码
      - GRAYLOG_HTTP_EXTERNAL_URI=http://访问地址/
      - GRAYLOG_HTTP_PUBLISH_URI=http://访问地址/
      - GRAYLOG_PLUGIN_SYSTEM_LANGUAGESELECTOR_DEFAULT_LOCALE=zh_CN
      - TZ=Asia/Shanghai
    networks:
      - graylog
    ports:
      - "9000:9000"
      - "514:514"
      - "514:514/udp"
      - "12201:12201"
      - "12201:12201/udp"

volumes:
  mongo_data:
    driver: local
  graylog_data:
    driver: local

networks:
  graylog:
    driver: bridge

上面的配置根据自己的环境,重新配置。
注意点:elasticSearch如果存在账密的化,参考下GRAYLOG_ELASTICSEARCH_XXX这几个配置,进行调整。

3. 启动graylog

# 1. 启动执行
docker-compose up -d

# 2. 如果希望调整docker-compose.yml的配置,需要先关闭,再重启
## 2.1 先关闭graylog的应用
docker-compose down

## 2.2 修改完文件后,再执行启动命令
docker-compose up -d

# 3.查看启动日志,确认是否完成启动
docker logs mongo;
docker logs graylog;

4. 配置graylog

日志传输,建议采用UDP协议,其次包括graylog的踩坑记录,参考如下文档:
参考1
参考2

二、java应用接入Graylog

1. pom新增依赖

<!--logback gelf日志收集-->
<dependency>
    <groupId>biz.paluch.logging</groupId>
    <artifactId>logstash-gelf</artifactId>
    <version>1.15.0</version>
</dependency>

2. 配置logback.xml文件,同时增加traceId、spanId方便链路日志的追踪

a. 配置 Logback 以支持 MDC,在 logback.xml 中配置 GelfLogbackAppender,并确保包括 traceId 和 spanId 字段:

<configuration>

    <appender name="GELF" class="biz.paluch.logging.gelf.logback.GelfLogbackAppender">
        <host>udp:graylog的地址</host> <!-- graylog 服务器ip -->
        <port>graylog开放的端口</port> <!-- graylog udp端口 -->
        <version>1.1</version>
        <facility>自定义一个名称</facility>
        <extractStackTrace>true</extractStackTrace>
        <filterStackTrace>false</filterStackTrace>
        <mdcProfiling>true</mdcProfiling>
        <timestampPattern>yyyy-MM-dd HH:mm:ss,SSSS</timestampPattern>
        <maximumMessageSize>8192</maximumMessageSize>

        <!-- Include trace and span IDs -->
        <mdcFields>traceId,spanId</mdcFields>
        <dynamicMdcFields>mdc.*,(mdc|MDC)fields</dynamicMdcFields>
        <includeFullMdc>true</includeFullMdc>

    </appender>

    <root level="INFO">
        <appender-ref ref="GELF"/>
    </root>

    <logger name="com.yourcompany" level="DEBUG">
        <appender-ref ref="GELF"/>
    </logger>

</configuration>

b. 代码中 新增MDC过滤器

import org.slf4j.MDC;
import org.springframework.stereotype.Component;

import javax.servlet.*;
import javax.servlet.http.HttpServletRequest;
import java.io.IOException;
import java.util.UUID;

@Component
public class MDCFilter implements Filter {

    @Override
    public void init(FilterConfig filterConfig) throws ServletException {
        // 过滤器初始化,如果有需要
    }

    @Override
    public void doFilter(ServletRequest request, ServletResponse response, FilterChain chain)
            throws IOException, ServletException {

        // 检查是否是HTTP请求
        if (request instanceof HttpServletRequest) {
            HttpServletRequest httpRequest = (HttpServletRequest) request;

            // 获取traceId,如果已经存在则使用,否则生成新的
            String traceId = httpRequest.getHeader("X-Trace-Id");
            if (traceId == null || traceId.isEmpty()) {
                traceId = UUID.randomUUID().toString();
            }

            // 生成新的spanId
            String spanId = UUID.randomUUID().toString();

            // 将traceId和spanId放入MDC
            MDC.put("traceId", traceId);
            MDC.put("spanId", spanId);
        }

        try {
            // 继续处理请求
            chain.doFilter(request, response);
        } finally {
            // 清理MDC
            MDC.remove("traceId");
            MDC.remove("spanId");
        }
    }

    @Override
    public void destroy() {
        // 过滤器销毁,如果有需要
    }
}

c. 代码中 注册MDC过滤器

import org.springframework.boot.web.servlet.FilterRegistrationBean;
import org.springframework.context.annotation.Bean;
import org.springframework.context.annotation.Configuration;

@Configuration
public class MDCFilterConfig {

    @Bean
    public FilterRegistrationBean<MDCFilter> loggingFilter() {
        FilterRegistrationBean<MDCFilter> registrationBean = new FilterRegistrationBean<>();
        registrationBean.setFilter(new MDCFilter());
        registrationBean.addUrlPatterns("/*"); // 应用过滤器到所有路径
        return registrationBean;
    }

}

三、Graylog使用

可以针对关键字or具体字段进行检索、聚合、告警等操作,这里就不一一讲解了,大家可以自行尝试学习。
开源日志平台:Graylog部署及接入

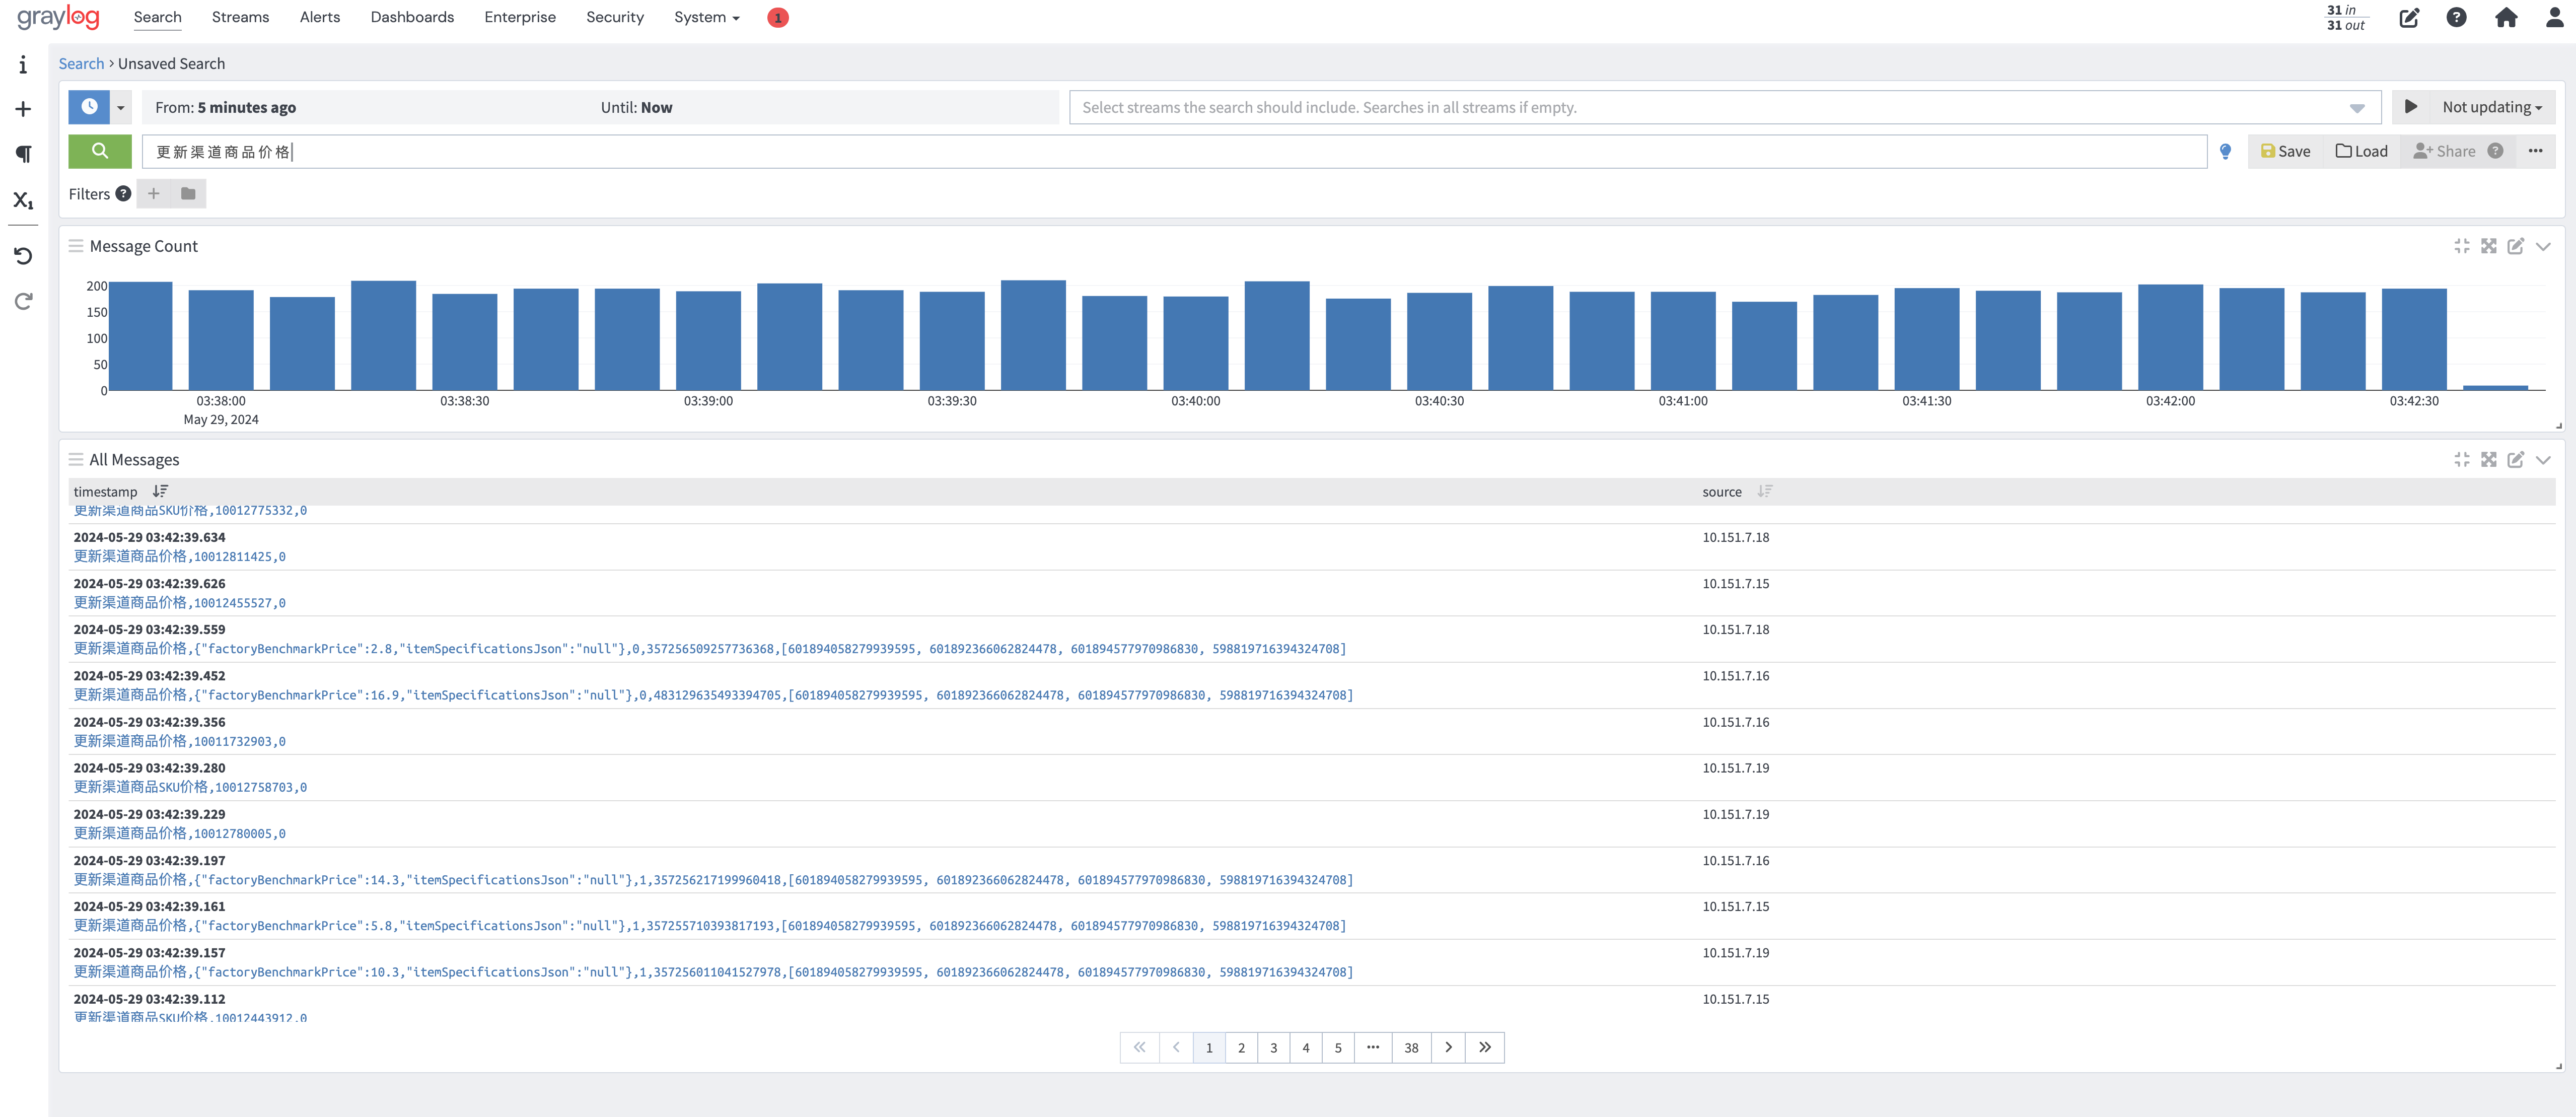
Oinone社区 作者:冯, 天宇原创文章,如若转载,请注明出处:https://doc.oinone.top/install/13126.html

访问Oinone官网:https://www.oinone.top获取数式Oinone低代码应用平台体验

(1)
冯, 天宇的头像冯, 天宇数式员工
上一篇 2024年5月30日 pm7:32
下一篇 2024年5月31日 am10:46

相关推荐

  • Centos7 部署mysql8详细教程

    安装前准备 1.访问mysql官网下载mysql8软件包 https://dev.mysql.com/downloads/mysql/选择相应的版本如:RPM Bundle mysql-8.0.33-1.el7.x86_64.rpm-bundle.tarRPM Bundle 8.0.33 下载地址:https://dev.mysql.com/get/Downloads/MySQL-8.0/mysql-8.0.33-1.el7.x86_64.rpm-bundle.tar 2.卸载MariaDB [root@haibovm ~]# rpm -qa | grep mariadb mariadb-libs-5.5.60-1.el7_5.x86_64 [root@haibovm ~]# rpm -e –nodeps mariadb-libs-5.5.60-1.el7_5.x86_64 3.检查 libaio numactl 是否安装 [root@haibovm ~]# rpm -qa|grep libaio libaio-0.3.109-13.el7.x86_64 [root@haibovm ~]# rpm -qa|grep numactl numactl-libs-2.0.9-7.el7.x86_64 如果没有检测到请使用以下命令安装 [root@haibovm ~]# yum install libaio numactl -y 4.关闭防火墙selinux(根据自身情况) [root@haibovm ~]# sed -i 's/enforcing/disabled/' /etc/selinux/config [root@haibovm ~]# setenforce 0 [root@haibovm ~]# systemctl stop firewalld [root@haibovm ~]# systemctl disable firewalld Removed symlink /etc/systemd/system/multi-user.target.wants/firewalld.service. Removed symlink /etc/systemd/system/dbus-org.fedoraproject.FirewallD1.service. [root@haibovm ~]# systemctl is-active firewalld unknown 5.防火墙开放端口 [root@haibovm ~]# firewall-cmd –zone=public –add-port=3306/tcp –permanent # 开放3306端口 [root@haibovm ~]# firewall-cmd –zone=public –remove-port=3306/tcp –permanent #关闭3306端口 [root@haibovm ~]# firewall-cmd –reload # 配置立即生效 [root@haibovm ~]# firewall-cmd –zone=public –list-ports # 查看防火墙所有开放的端口 安装mysql8 1.下载mysql8到/opt目录 [root@haibovm ~]# cd /opt/ [root@haibovm opt]# yum install wget -y && wget https://dev.mysql.com/get/Downloads/MySQL-8.0/mysql-8.0.33-1.el7.x86_64.rpm-bundle.tar 2.解压 mysql-8.0.33-1.el7.x86_64.rpm-bundle.tar [root@haibovm opt]# tar -xvf mysql-8.0.33-1.el7.x86_64.rpm-bundle.tar mysql-community-client-8.0.33-1.el7.x86_64.rpm mysql-community-client-plugins-8.0.33-1.el7.x86_64.rpm mysql-community-common-8.0.33-1.el7.x86_64.rpm mysql-community-debuginfo-8.0.33-1.el7.x86_64.rpm mysql-community-devel-8.0.33-1.el7.x86_64.rpm mysql-community-embedded-compat-8.0.33-1.el7.x86_64.rpm mysql-community-icu-data-files-8.0.33-1.el7.x86_64.rpm mysql-community-libs-8.0.33-1.el7.x86_64.rpm mysql-community-libs-compat-8.0.33-1.el7.x86_64.rpm mysql-community-server-8.0.33-1.el7.x86_64.rpm mysql-community-server-debug-8.0.33-1.el7.x86_64.rpm mysql-community-test-8.0.33-1.el7.x86_64.rpm 3.安装 community-common [root@haibovm opt]# rpm -ivh –nodeps –force mysql-community-common-8.0.33-1.el7.x86_64.rpm 警告:mysql-community-common-8.0.33-1.el7.x86_64.rpm: 头V4 RSA/SHA256 Signature, 密钥 ID 3a79bd29: NOKEY 准备中… ################################# [100%] 正在升级/安装… 1:mysql-community-common-8.0.33-1.e################################# [100%] 4.安装 community-libs [root@haibovm opt]# rpm -ivh –nodeps –force mysql-community-libs-8.0.33-1.el7.x86_64.rpm 警告:mysql-community-libs-8.0.33-1.el7.x86_64.rpm: 头V4 RSA/SHA256 Signature, 密钥…

    2023年11月7日
    93600
  • Oinone License 许可证使用常见问题

    如何获取许可证? 联系数式运维人员获取许可证。(以下内容全部使用表示许可证文件路径) subject:授权主体名称 license.lic:许可证文件 不同许可证类别有什么不同? 许可证类型 LicenseType 限制功能 适用环境 研发授权 DEVELOP 1.每次安装时效1天,超时后无法正常访问设计器相关功能2.限制CPU和主板序列号或限制许可证使用人数3.不能用于容器启动4.有页面水印 开发环境(开发人员本地启动业务工程时使用该授权) 伙伴授权 TRIAL 1.无安装时效限制2.无部署环境限制3.有页面水印 非生产环境(测试环境、预发环境等使用该授权) 客户授权 BUSINESS 1.无安装时效限制2.仅能部署一套生产环境3.无页面水印 生产环境 PS: 一套环境是指共用Base库的所有JVM称为一套环境。 如何配置许可证? 在yaml中配置许可证 单个许可证配置 pamirs: license: subject: <subject> path: <license.lic> 多个许可证配置 pamirs: license: subject: <subject> path: – <license1.lic> – <license2.lic> pamirs.license.path可以是相对路径、绝对路径以及URL路径。 在Program Arguments中配置许可证 java -jar -Psubject=<subject> -Plicense=<license1.lic> -Plicense=<license1.lic> <boot.jar> 如何在开发中安装许可证? 将许可证放入后端运行时工作目录中即可。(一般为idea项目根目录) 如何在物理机生产环境安装许可证? 将许可证放入与jar包平级目录中即可。 如何在docker环境中安装许可证? 在docker运行时目录添加挂载卷映射,并在yaml中配置对应的路径即可。 如何获取CPU序列号和主板序列号 在Linux环境中使用dmidecode命令 # 获取CPU序列号 dmidecode -s system-serial-number # CPU序列号 7*****1 # 获取主板序列号 dmidecode -s baseboard-serial-number # 主板序列号 ..CN*******V01Y7. # 获取系统UUID dmidecode -s system-uuid # 系统UUID 4c4xxxxx-xxxx-xxxx-xxxx-xxxxxxxx5831 在Mac环境中使用system_profiler命令 # 获取CPU序列号 system_profiler SPHardwareDataType | grep 'Serial Number' | awk -F ':' '{print $2}' # CPU序列号 C02******03Y # 获取主板序列号 system_profiler SPHardwareDataType | grep 'Hardware UUID' | awk -F ':' '{print $2}' # 主板序列号 1AAxxxxx-xxxx-xxxx-xxxx-xxxxxxxxF0FC 在Windows环境中使用wmic命令 # 获取CPU序列号 wmic cpu get processorid # CPU序列号 BFExxxxxxxxxx6A3 # 获取主板序列号 wmic baseboard get serialnumber # 主板序列号 PFxxxxBY # 获取系统UUID wmic csproduct get uuid # 系统UUID D0Exxxxx-xxxx-xxxx-xxxx-xxxxxxxx78B8 在Linux环境出现dmidecode命令执行失败该如何处理? 1. 命令未找到,可使用如下方式尝试安装 # debian (eg: Ubuntu) apt-get install dmidecode # rpm (eg: Fedora/CentOS/RedHat) yum install dmidecode 2. 无权限执行命令,尝试切换当前执行用户或为当前用户提高执行权限 在docker环境出现证书安装失败该如何处理? 1. 由于docke环境非物理环境,不支持CPU序列号和主板序列号校验,尝试更换许可证。 2. 检查许可证在镜像中的位置是否与配置文件中一致。 许可证安装失败该如何处理? 1. 日志出现License installation failed.信息 PS:对JDK版本依赖的问题已在5.0.0版本以上得到完整解决,此问题仅会出现在低版本的平台版本中。 请检查jdk版本是否高于1.8_221以上。 如无法升级jdk版本的环境下,请点击下载 jce_policy-8.zip 并按照如下步骤进行操作:…

    2024年6月19日
    4.0K00
  • 【PostgreSQL】后端部署使用PostgreSQL数据库

    PostgreSQL数据库配置 驱动配置 Maven配置(14.3版本可用) <postgresql.version>42.6.0</postgresql.version> <dependency> <groupId>org.postgresql</groupId> <artifactId>postgresql</artifactId> <version>${postgresql.version}</version> </dependency> 离线驱动下载 postgresql-42.2.18.jarpostgresql-42.6.0.jarpostgresql-42.7.3.jar JDBC连接配置 pamirs: datasource: base: type: com.alibaba.druid.pool.DruidDataSource driverClassName: org.postgresql.Driver url: jdbc:postgresql://127.0.0.1:5432/pamirs?currentSchema=base username: xxxxxx password: xxxxxx 连接url配置 暂无官方资料 url格式 jdbc:postgresql://${host}:${port}/${database}?currentSchema=${schema} 在jdbc连接配置时,${database}和${schema}必须完整配置,不可缺省。 其他连接参数如需配置,可自行查阅相关资料进行调优。 方言配置 pamirs方言配置 pamirs: dialect: ds: base: type: PostgreSQL version: 14 major-version: 14.3 pamirs: type: PostgreSQL version: 14 major-version: 14.3 数据库版本 type version majorVersion 14.x PostgreSQL 14 14.3 PS:由于方言开发环境为14.3版本,其他类似版本(14.x)原则上不会出现太大差异,如出现其他版本无法正常支持的,可在文档下方留言。 schedule方言配置 pamirs: event: enabled: true schedule: enabled: true dialect: type: PostgreSQL version: 14 major-version: 14.3 type version majorVersion PostgreSQL 14 14.3 PS:由于schedule的方言在多个版本中并无明显差异,目前仅提供一种方言配置。 其他配置 逻辑删除的值配置 pamirs: mapper: global: table-info: logic-delete-value: (EXTRACT(epoch FROM CURRENT_TIMESTAMP) * 1000000 + EXTRACT(MICROSECONDS FROM CURRENT_TIMESTAMP))::bigint PostgreSQL数据库用户初始化及授权 — init root user (user name can be modified by oneself) CREATE USER root WITH PASSWORD 'password'; — if using automatic database and schema creation, this is very important. ALTER USER root CREATEDB; SELECT * FROM pg_roles; — if using postgres database, this authorization is required. GRANT CREATE ON DATABASE postgres TO root;

    2023年11月1日
    1.2K00
  • 分部式缓存配置优化

    介绍 分布式缓存是为了解决以下2个场景 开发时,设计器和开发者本地业务工程同步元数据用的 多模块分部式部署架构 单机版的生产环境是不需要这个特性的,所以默认的启动配置不建议加分布式缓存的依赖包,只在开发环境开启即可 boot启动工程的pom.xml文件配置示例 <project> <profiles> <profile> <!– 下面配置的值根据 spring.profiles.active 识别 –> <id>dev</id> <!– 开发环境增加分布式依赖,支持设计器可以正确访问业务工程 –> <dependencies> <dependency> <groupId>pro.shushi.pamirs.distribution</groupId> <artifactId>pamirs-distribution-faas</artifactId> </dependency> <dependency> <groupId>pro.shushi.pamirs.distribution</groupId> <artifactId>pamirs-distribution-session</artifactId> </dependency> <dependency> <groupId>pro.shushi.pamirs.distribution</groupId> <artifactId>pamirs-distribution-gateway</artifactId> </dependency> </dependencies> </profile> </profiles> </project>

    2024年7月10日
    1.3K00
  • 如何解决界面设计器保存提示:元数据不存在或已删除

    现象 界面设计器设计页面的时候,从左侧边栏模型下拖入了一个字段到页面,保存的时候提示:元数据不存在或已删除 原因 共base库不共元数据缓存redis导致的,不共redis的情况下,每次本地新增或修改元数据(如:字段、方法)启动后会同步本地redis,再去线上启动的时候,由于元数据已经在本地写入到了base库,所以该次启动不会触发redis差量更新 解决方案 通过将boot工程application.yml以下配置,让redis全量刷新元数据缓存 pamirs: distribution: session: allMetaRefresh: true 扩展 这个方法只能解决新增或修改元数据,如果出现了删除元数据的话,改为true也不行,清空或者手动删除问题redis的key都可以

    2024年7月21日
    1.1K00

Leave a Reply

登录后才能评论