
低无一体使用 (后端)
低无一体应用
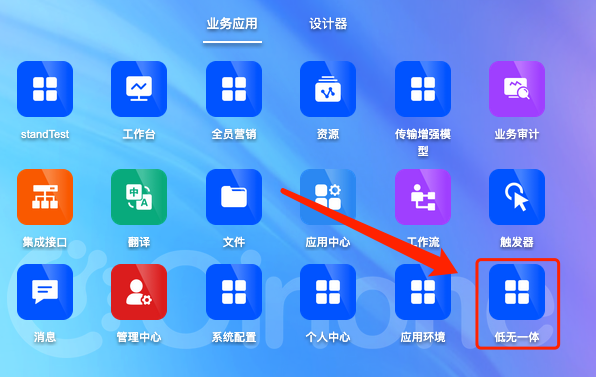
打开低无一体应用。

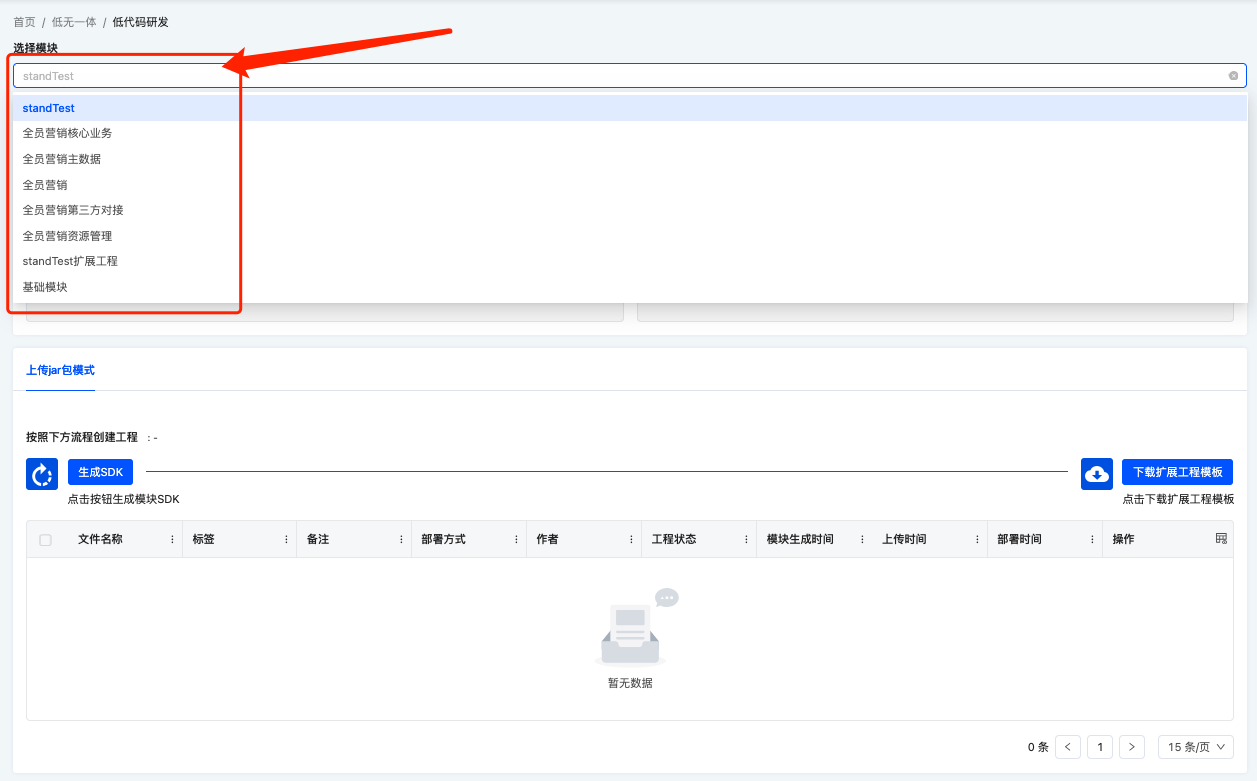
选择应用模块
在选择模块选择框中,下拉选择需要使用低无一体的应用模块。
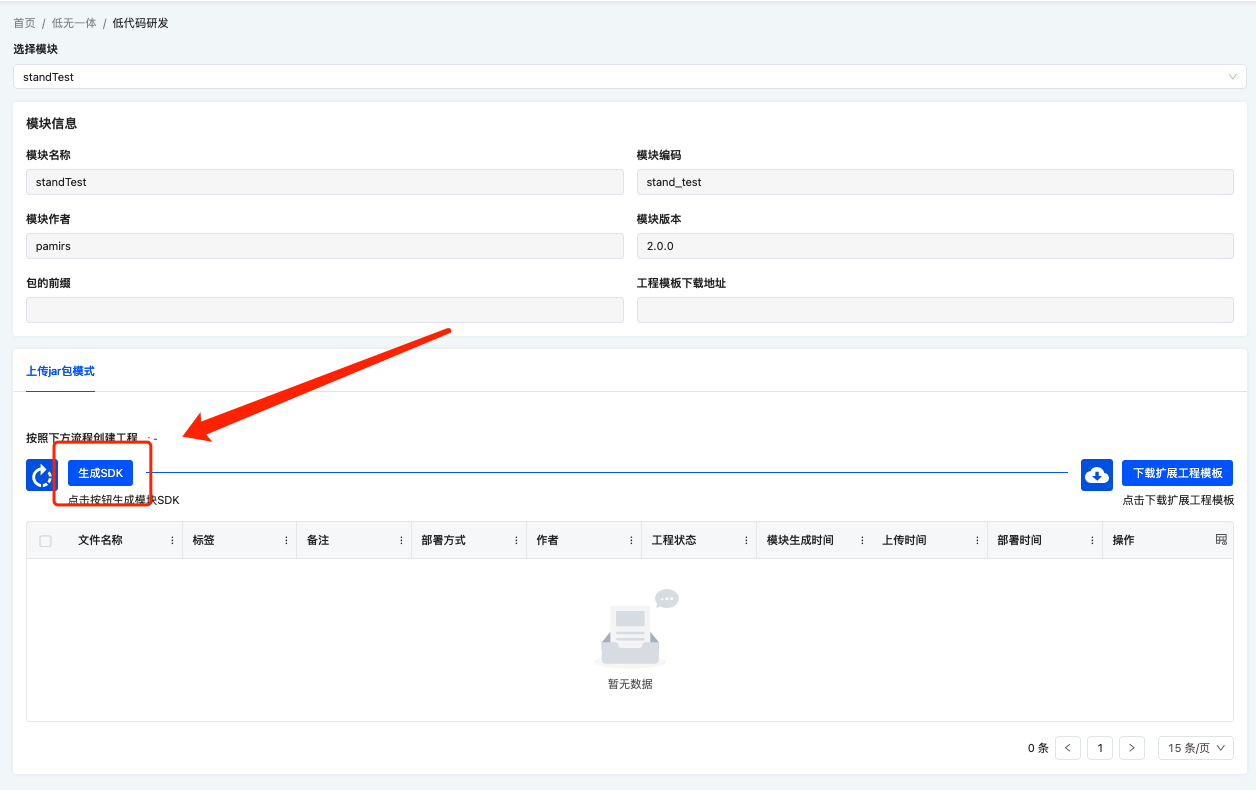
生成SDK
点击生成SDK, 生成当前选择应用模块的低无一体SDK。
点击之后的系统消息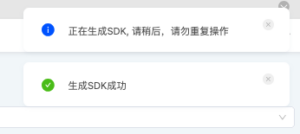
提示"生成SDK成功",表示操作完成。
生成扩展工程
点击下载扩展工程模板, 生成当前选择应用模块的低无一体SDK。
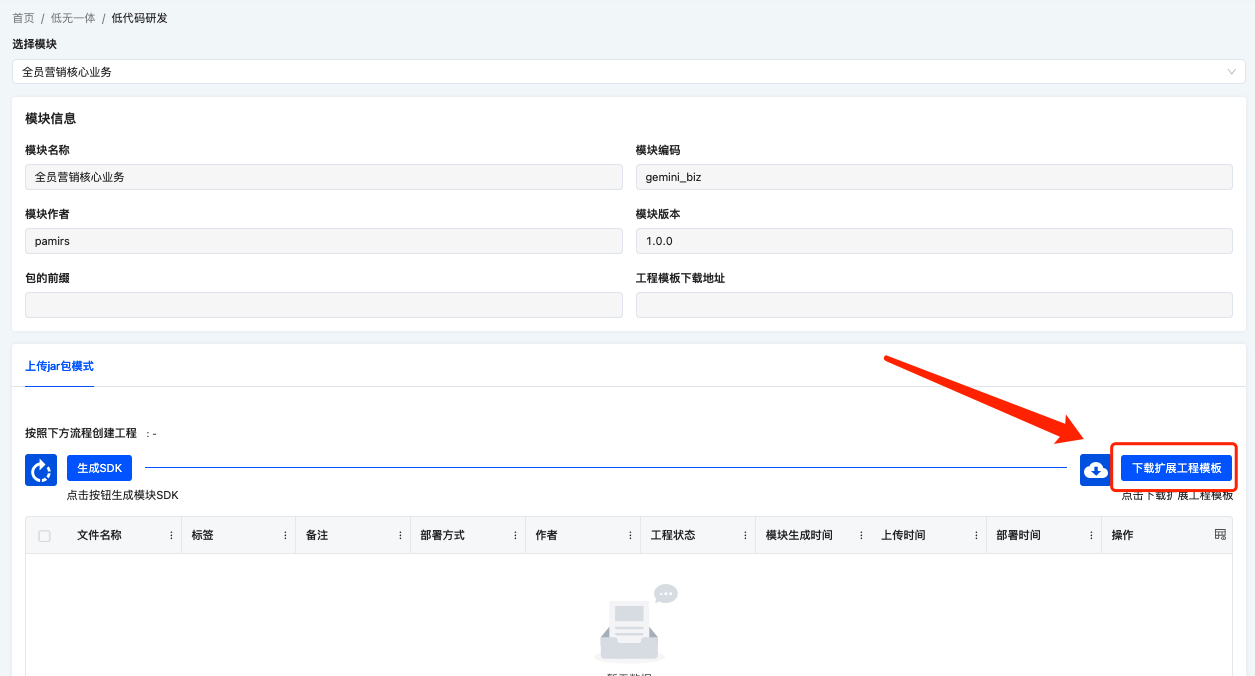
点击之后的系统消息
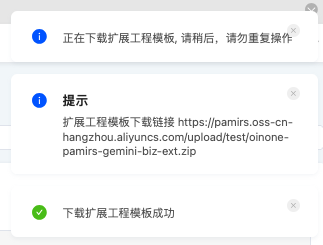
提示"下载扩展工程模板成功",表示操作完成。
之后刷新页面
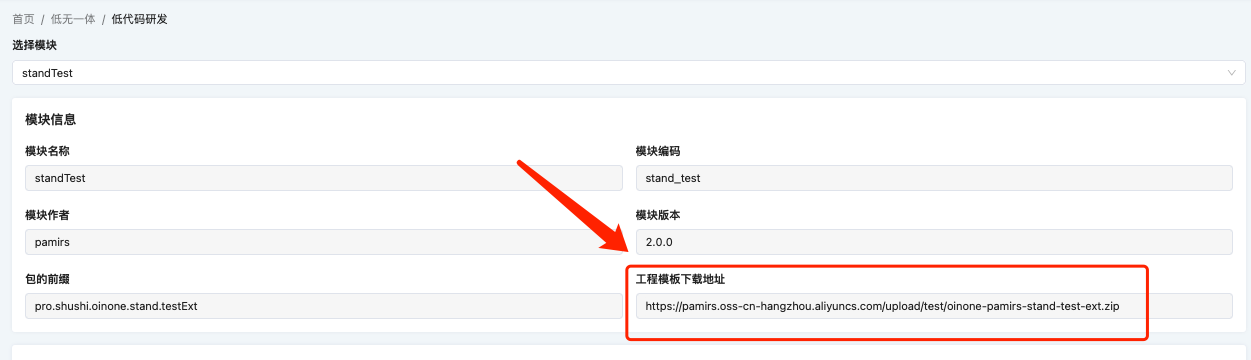
下载扩展工程
使用系统消息中的链接或者详情页中的下载地址下载扩展工程
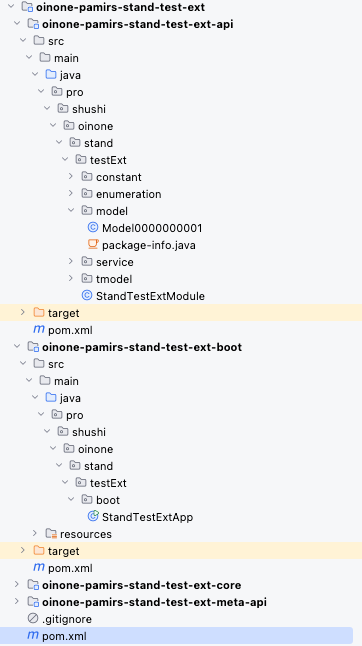
扩展工程结构概览
自定义Action示例
import org.springframework.stereotype.Component;
import pro.shushi.oinone.stand.testExt.model.Model0000000001;
import pro.shushi.pamirs.meta.annotation.Action;
import pro.shushi.pamirs.meta.annotation.Function;
import pro.shushi.pamirs.meta.annotation.Model;
import pro.shushi.pamirs.meta.api.dto.condition.Pagination;
import pro.shushi.pamirs.meta.api.dto.wrapper.IWrapper;
import pro.shushi.pamirs.meta.constant.FunctionConstants;
import pro.shushi.pamirs.meta.enmu.FunctionOpenEnum;
import pro.shushi.pamirs.meta.enmu.FunctionTypeEnum;

/**
 * Model0000000001Action
 *
 * @author yakir on 2025/01/20 14:59.
 */
@Component
@Model.model(Model0000000001.MODEL_MODEL)
public class Model0000000001Action {

    @Function.Advanced(type = FunctionTypeEnum.QUERY)
    @Function.fun(FunctionConstants.queryPage)
    @Function(openLevel = {FunctionOpenEnum.API})
    public Pagination<Model0000000001> queryPage(Pagination<Model0000000001> page, IWrapper<Model0000000001> queryWrapper) {

        return new Model0000000001().queryPage(page, queryWrapper);
    }

    @Action(displayName = "sayHello")
    @Action.Advanced(type = FunctionTypeEnum.QUERY)
    public Model0000000001 sayHello(Model0000000001 query) {
        query.setName(query.getName() + System.currentTimeMillis());
        return query;
    }
}
注意事项 ⚠️⚠️⚠️
- Oinone底层依赖版本与设计器和业务应用一致 (参考 版本更新日志 )
- 扩展工程如需独立启动, 手动修改
application.yml中安装模块和pom.xml中模块jar的依赖配置
Oinone社区 作者:yakir原创文章,如若转载,请注明出处:https://doc.oinone.top/backend/20451.html
访问Oinone官网:https://www.oinone.top获取数式Oinone低代码应用平台体验