3.2.3 应用中心

在App Finder 中点击应用中心可以进入oinone的应用中心,可以看到oinone平台所有应用列表、应用大屏、以及技术可视化。
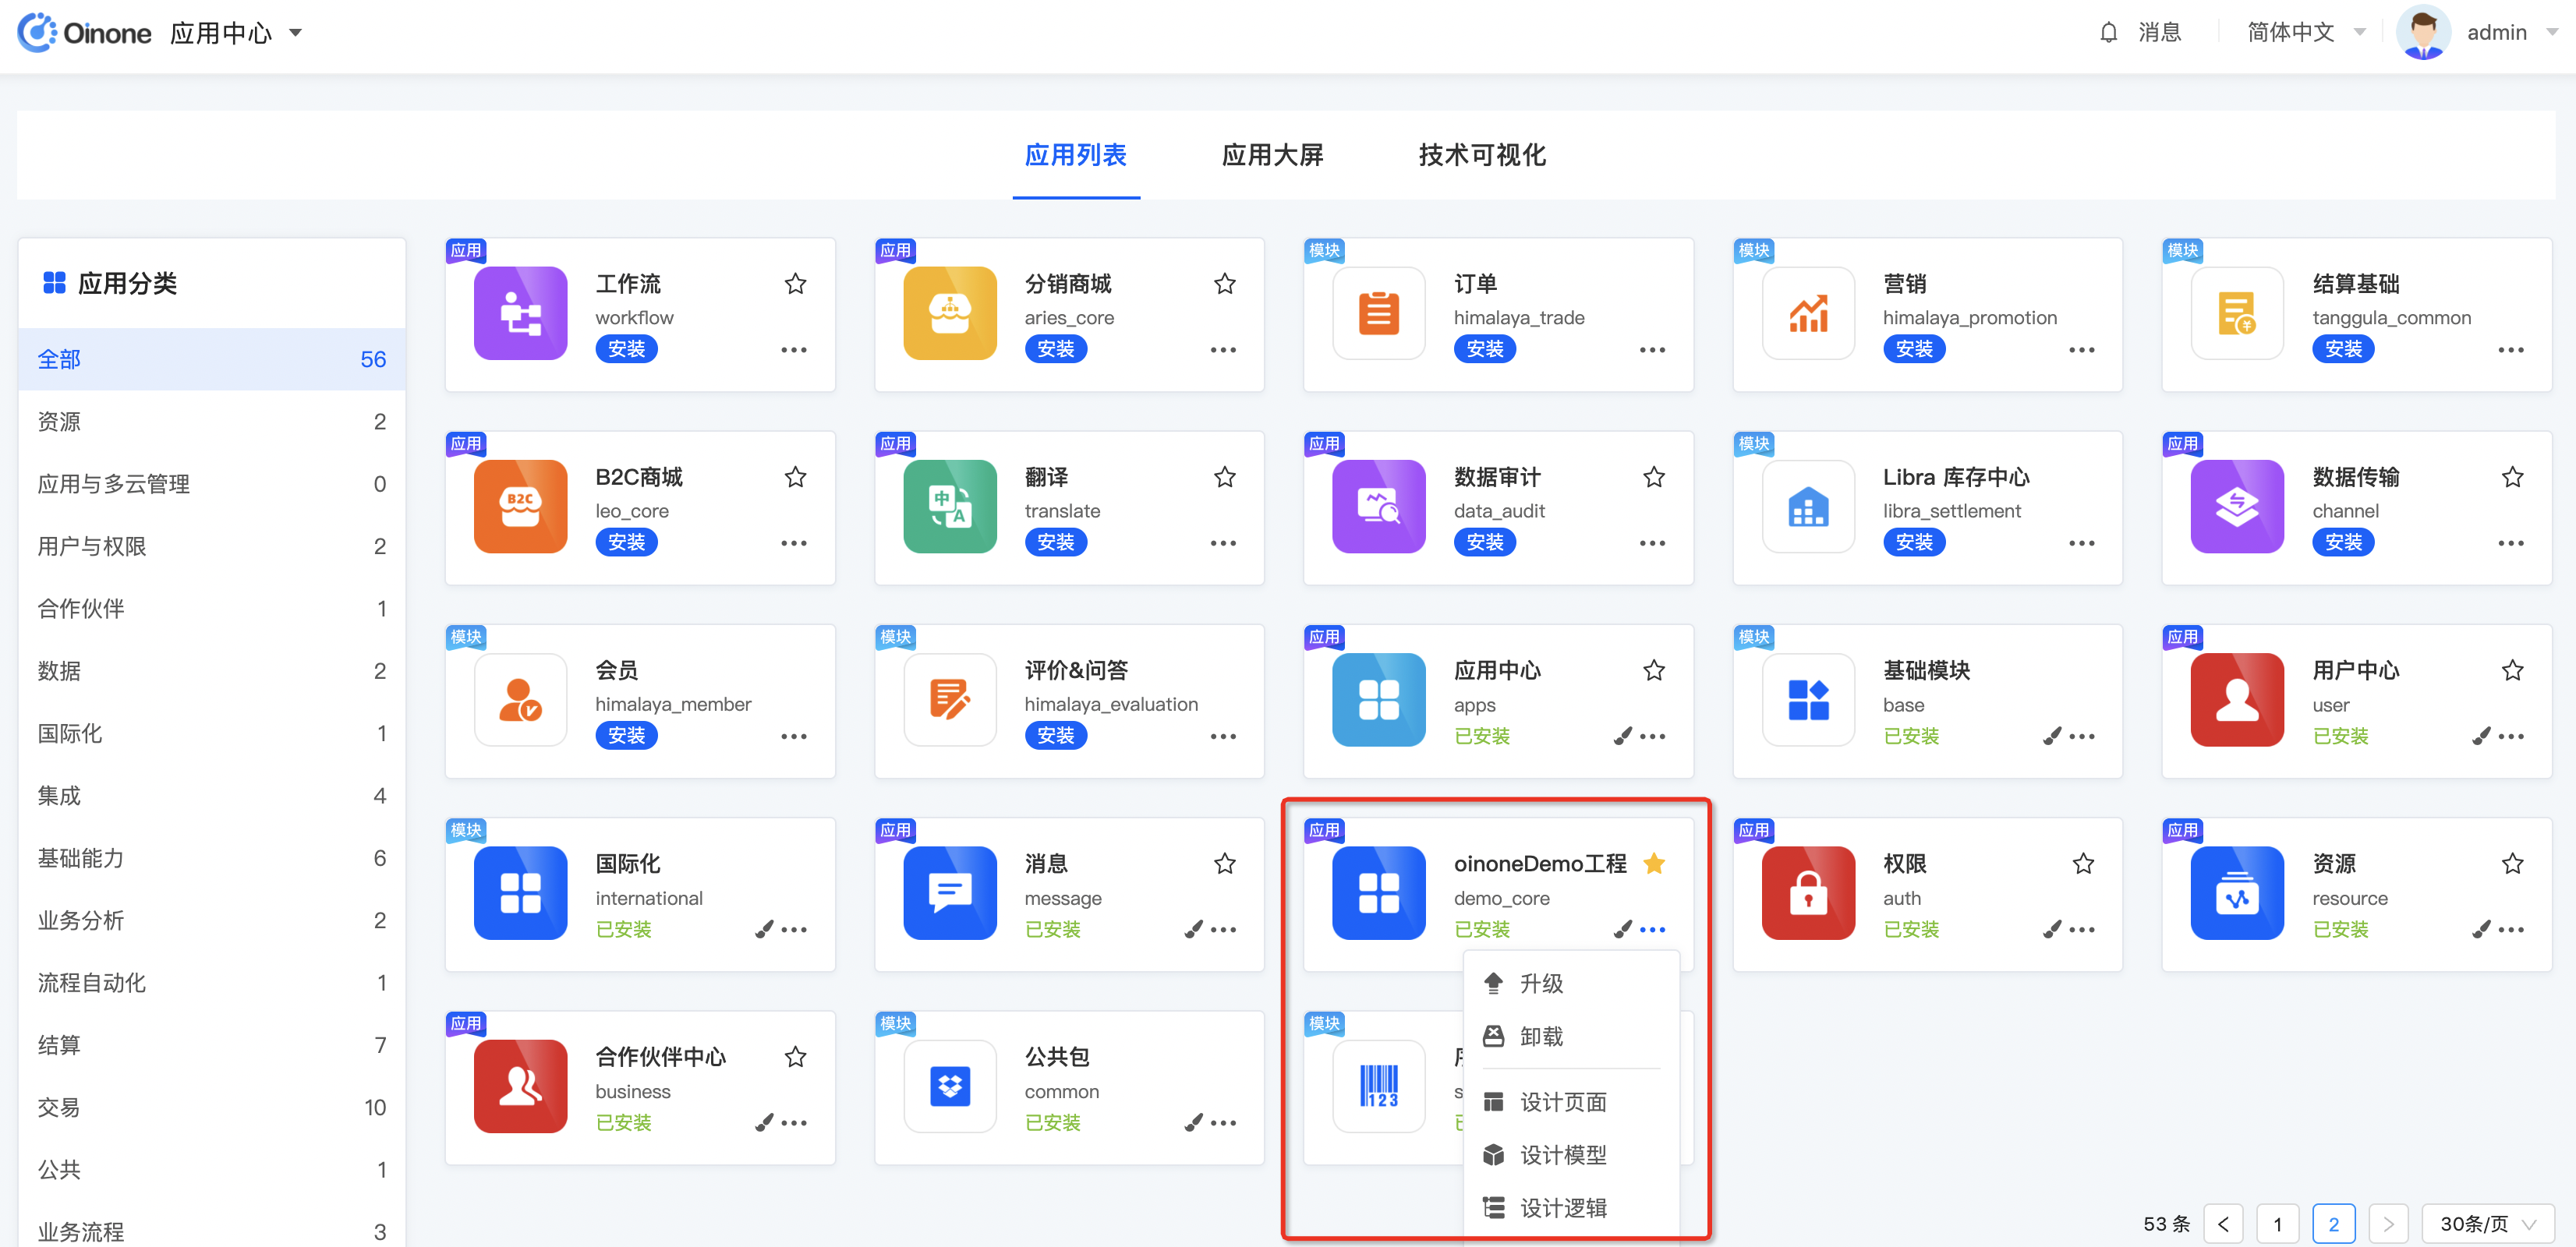
一、应用列表

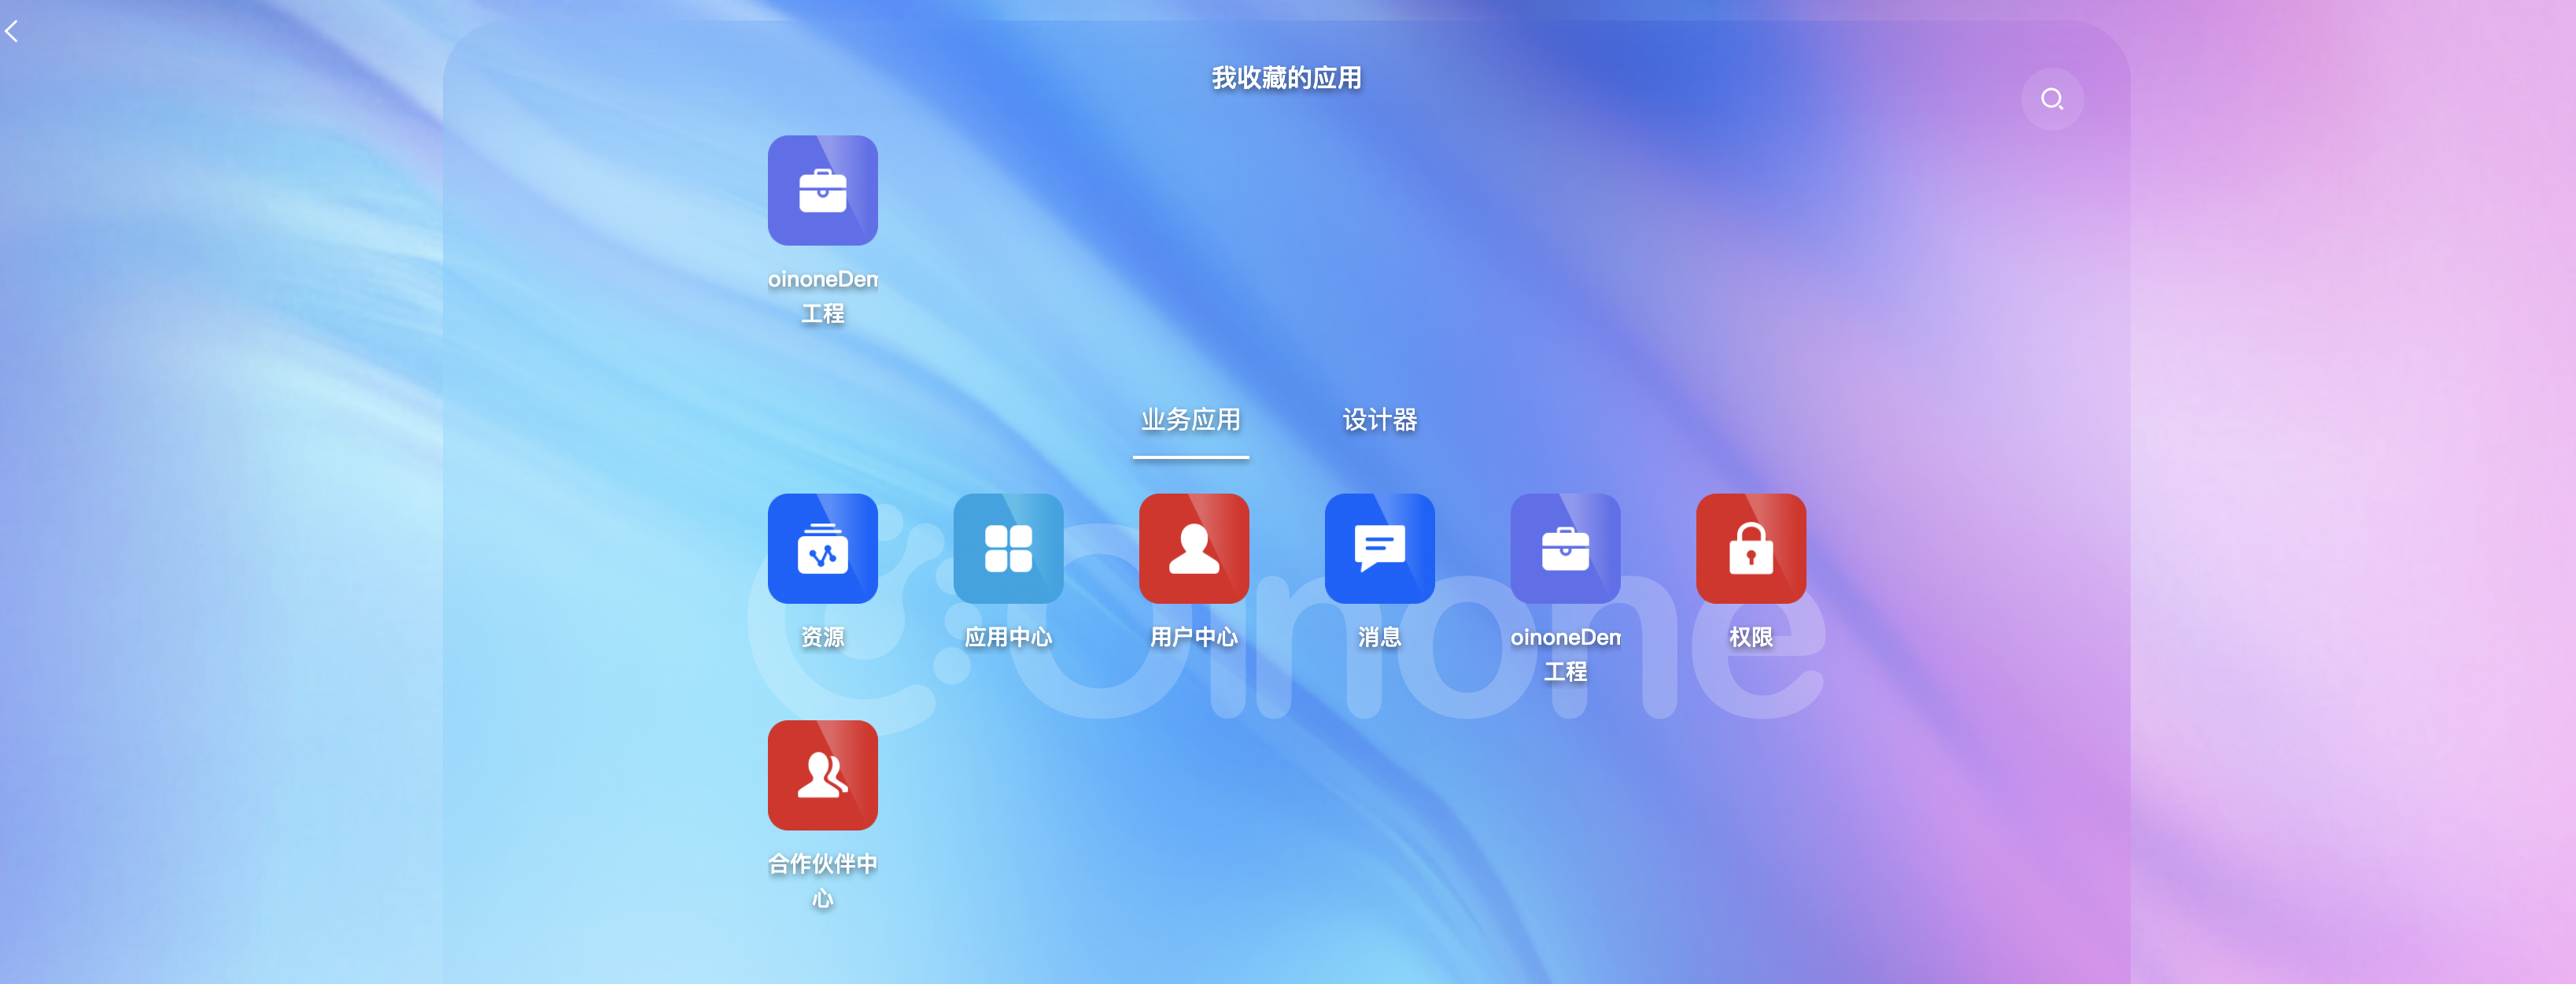
标准版本不支持在线安装,只能通过boot工程的yml文件来配置安装模块。在 www.oinone.top 官方SaaS平台客户可以在线管理应用生命周期如:安装、升级、卸载。同时针对已安装应用可以进行无代码设计(前提安装了设计器),针对应用类的模块则可进行收藏,收藏后会在App Finder中的我收藏的应用中出现。在应用列表中可以看到我们已经安装的应用以及模块,我们oinoneDemo工程也在其中。
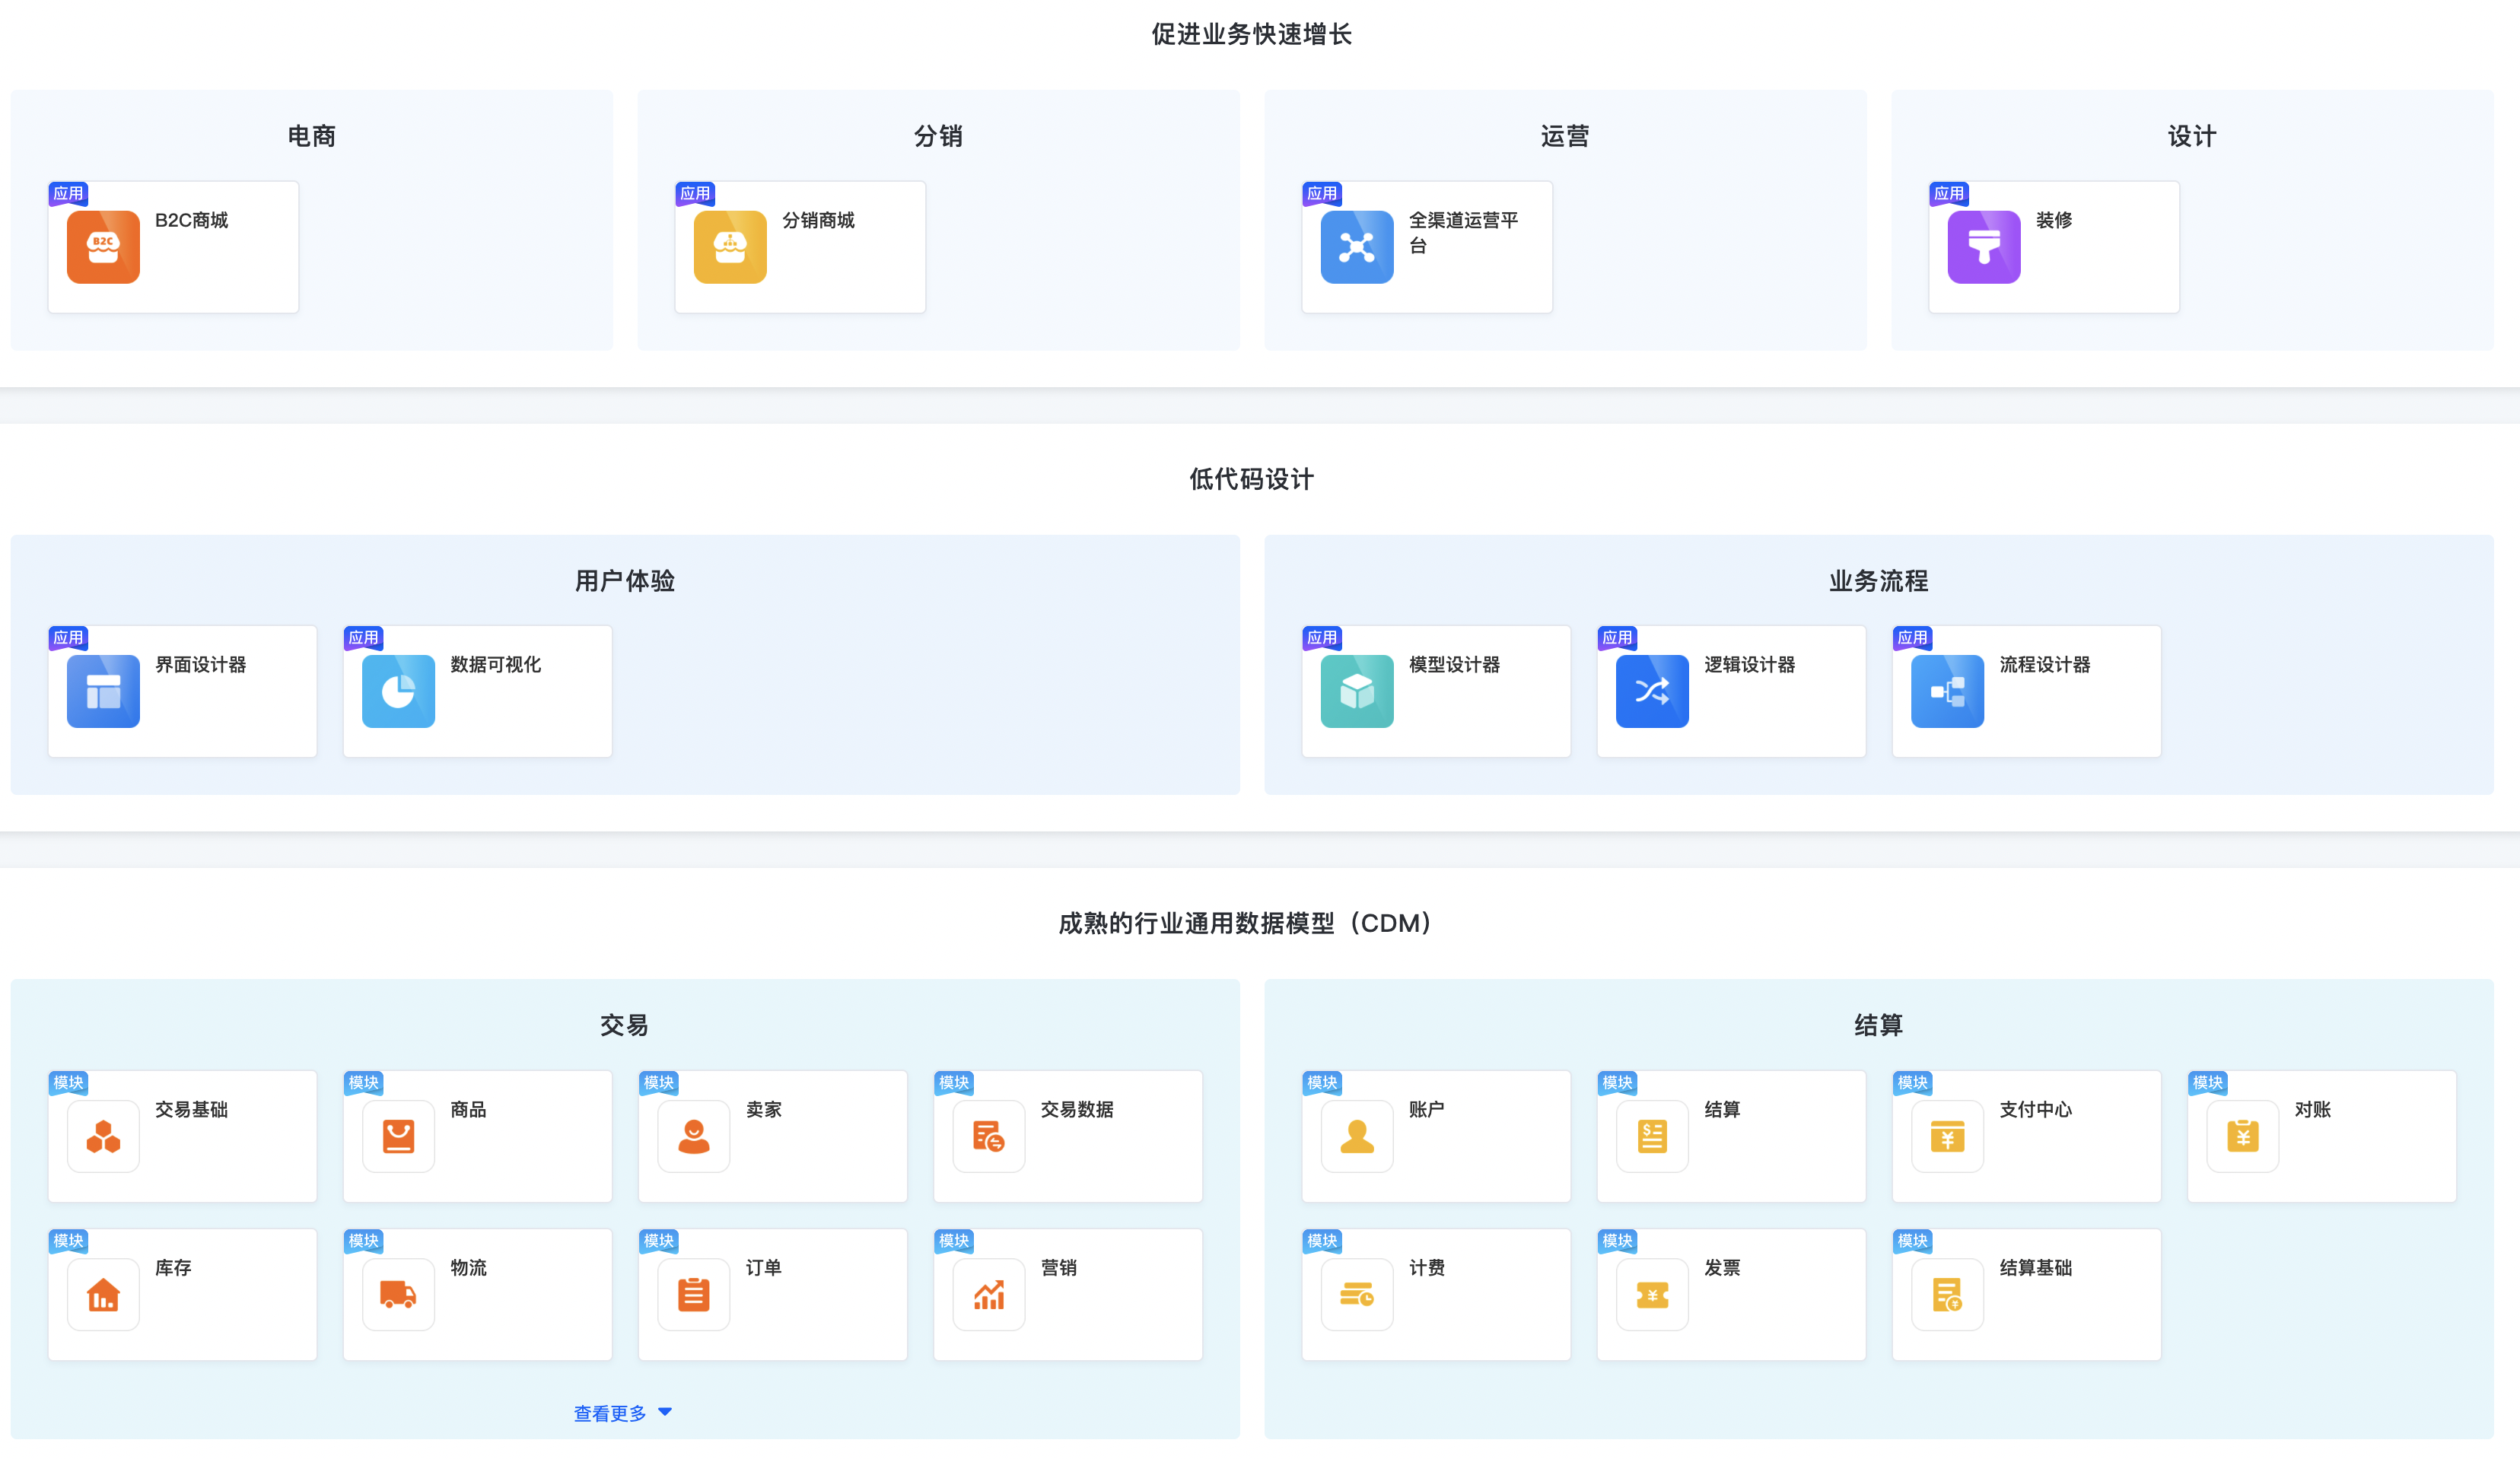
image.png

图3-2-35 Oinone的应用列表

image.png

图3-2-36 应用收藏后会在App Finder的【我收藏的应用】中出现

二、应用大屏

但我们的测试应用没有设置应用类目,则无法在应用大屏中呈现。
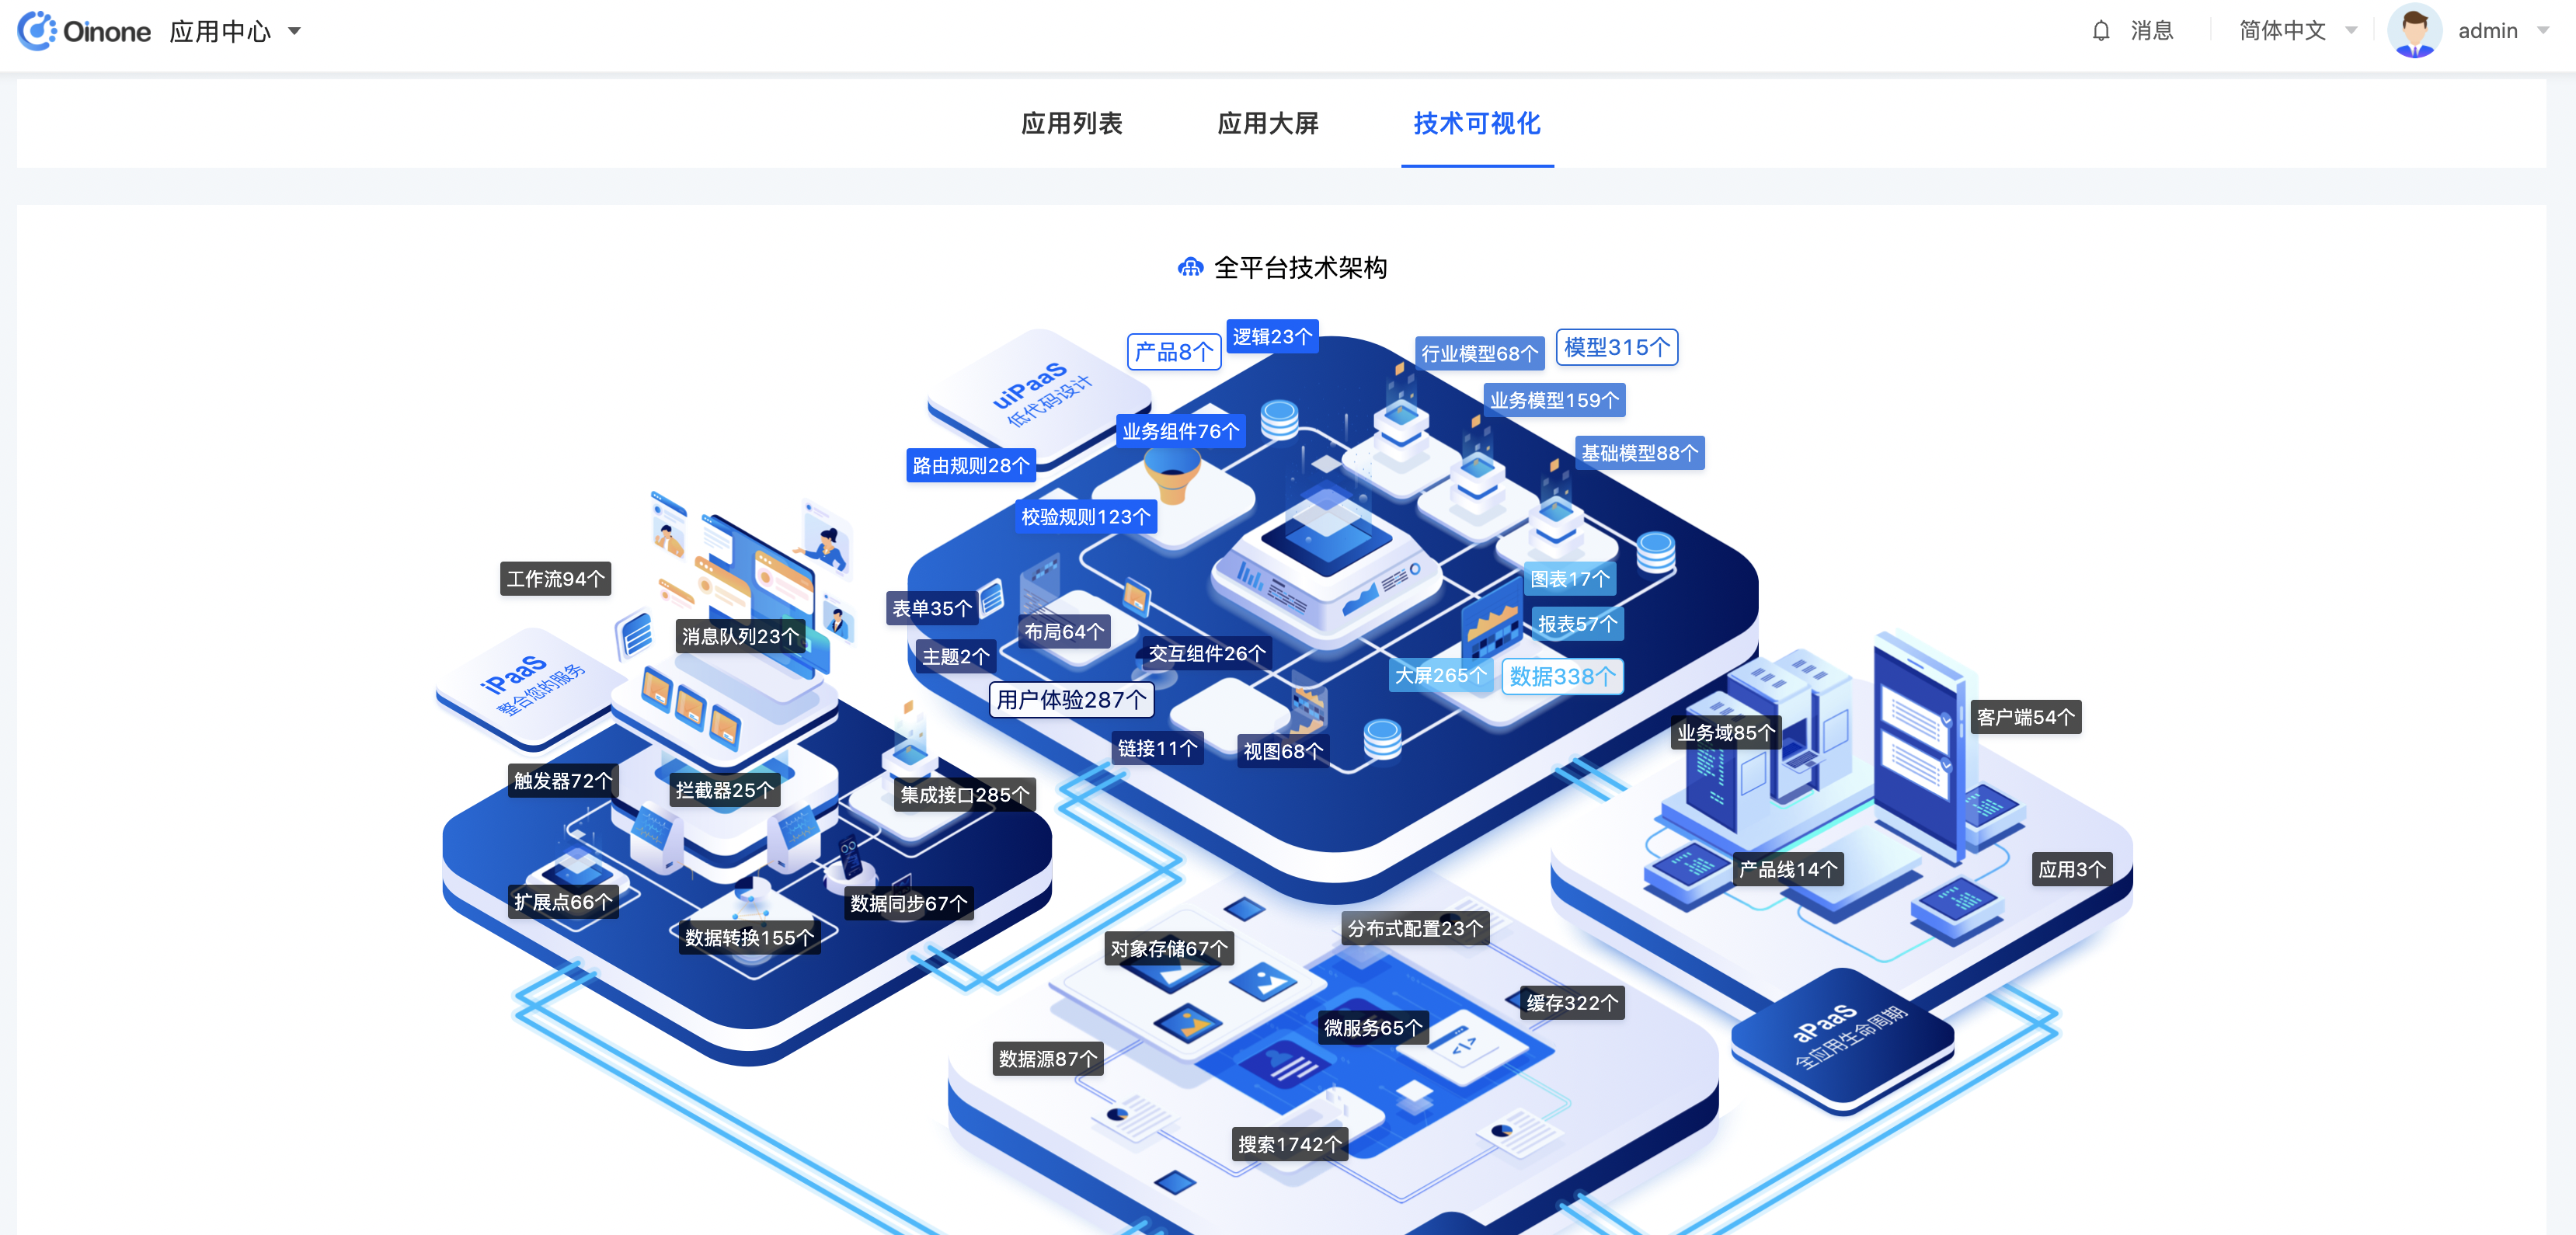
image.png

图3-2-37 未设置应用类目则无法在应用大屏中呈现

三、技术可视化

在技术可视化页面,出展示已经安装模块的元数据,并进行分类呈现

image.png

图3-2-38 云数据分类呈现

Oinone社区 作者:史, 昂原创文章,如若转载,请注明出处:https://doc.oinone.top/oio4/9230.html

访问Oinone官网:https://www.oinone.top获取数式Oinone低代码应用平台体验

(0)
史, 昂的头像史, 昂数式管理员
上一篇 2024年5月23日
下一篇 2024年5月23日

相关推荐

  • 6.3 数据审计(改)

    在业务应用中我们经常需要为一些核心数据的变更做审计追踪,记录字段的前后变化、操作IP、操作人、操作地址等等。数据审计模块为此提供了支撑和统一管理。它在成熟的企业的核心业务系统中,需求是比较旺盛的。接下来我们开始学习下数据审计模块 准备工作 pamirs-demo-core的pom文件中引入pamirs-data-audit-api包依赖 <dependency> <groupId>pro.shushi.pamirs.core</groupId> <artifactId>pamirs-data-audit-api</artifactId> </dependency> pamirs-demo-boot的pom文件中引入pamirs-data-audit-core和pamirs-third-party-map-core包依赖,数据审计会记录操作人的地址信息,所以也依赖了pamirs-third-party-map-core <dependency> <groupId>pro.shushi.pamirs.core</groupId> <artifactId>pamirs-data-audit-core</artifactId> </dependency> <dependency> <groupId>pro.shushi.pamirs.core.map</groupId> <artifactId>pamirs-third-party-map-core</artifactId> </dependency> pamirs-demo-boot的application-dev.yml文件中增加配置pamirs.boot.modules增加data_audit 和third_party_map,即在启动模块中增加data_audit和third_party_map模块 pamirs: boot: modules: – data_audit – tp_map 为third_party_map模块增加高德接口api,下面e439dda234467b07709f28b57f0a9bd5换成自己的key pamirs: eip: map: gd: key: e439dda234467b07709f28b57f0a9bd5 数据审计 注解式(举例) Step1 新增PetTalentDataAudit数据审计定义类 package pro.shushi.pamirs.demo.core.init.audit; import pro.shushi.pamirs.data.audit.api.annotation.DataAudit; import pro.shushi.pamirs.demo.api.model.PetTalent; @DataAudit( model = PetTalent.MODEL_MODEL,//需要审计的模型 modelName = "宠物达人" ,//模型名称,默认模型对应的displayName //操作名称 optTypes = {PetTalentDataAudit.PETTALENT_CREATE,PetTalentDataAudit.PETTALENT_UDPATE}, fields={"nick","picList.id","picList.url","petShops.id","petShops.shopName"}//需要审计的字段,关系字段用"."连结 ) public class PetTalentDataAudit { public static final String PETTALENT_CREATE ="宠物达人创建"; public static final String PETTALENT_UDPATE ="宠物达人修改"; Step2 修改PetTalentAction的update方法 做审计日志埋点:手工调用 OperationLogBuilder.newInstance().record()方法。需要注意的是这里需要把原有记录的数据值先查出来做对比 @Function.Advanced(type= FunctionTypeEnum.UPDATE) @Function.fun(FunctionConstants.update) @Function(openLevel = {FunctionOpenEnum.API}) public PetTalent update(PetTalent data){ //记录日志 OperationLogBuilder.newInstance(PetTalent.MODEL_MODEL, PetTalentDataAudit.PETTALENT_UDPATE).record(data.queryById().fieldQuery(PetTalent::getPicList).fieldQuery(PetTalent::getPetShops),data); PetTalent existPetTalent = new PetTalent().queryById(data.getId()); if(existPetTalent !=null){ existPetTalent.fieldQuery(PetTalent::getPicList); existPetTalent.fieldQuery(PetTalent::getPetShops); existPetTalent.relationDelete(PetTalent::getPicList); existPetTalent.relationDelete(PetTalent::getPetShops); } data.updateById(); data.fieldSave(PetTalent::getPicList); data.fieldSave(PetTalent::getPetShops); return data; } Step3 重启看效果 修改宠物达人记录对应的字段,然后进入审计模块查看日志

    2024年5月23日
    1.2K00
  • 4.2.4 框架之网络请求-HttpClient

    oinone提供统一的网络请求底座,基于graphql二次封装 一、初始化 import { HttpClient } from '@kunlun/dependencies'; const http = HttpClient.getInstance(); http.setMiddleware() // 必须设置,请求回调。具体查看文章https://shushi.yuque.com/yqitvf/oinone/vwo80g http.setBaseURL() // 必须设置,后端请求的路径 图4-2-4-1 初始化代码示例 二、HttpClient详细介绍 获取实例 import { HttpClient } from '@kunlun/dependencies'; const http = HttpClient.getInstance(); 图4-2-4-2 获取实例 接口地址 import { HttpClient } from '@kunlun/dependencies'; const http = HttpClient.getInstance(); http.setBaseURL('接口地址'); http.getBaseURL(); // 获取接口地址 图4-2-4-3 接口地址 请求头 import { HttpClient } from '@kunlun/dependencies'; const http = HttpClient.getInstance(); http.setHeader({key: value}); 图4-2-4-4 请求头 variables import { HttpClient } from '@kunlun/dependencies'; const http = HttpClient.getInstance(); http.setExtendVariables((moduleName: string) => { return customFuntion(); }); 图4-2-4-5 variables 回调 import { HttpClient } from '@kunlun/dependencies'; const http = HttpClient.getInstance(); http.setMiddleware([middleware]); 图4-2-4-6 回调 业务使用-query private http = HttpClient.getInstance(); private getTestQuery = async () => { const query = `gql str`; const result = await this.http.query('module name', query); console.log(result) return result.data[`xx`]['xx']; // 返回的接口,打印出result对象层次返回 }; 图4-2-4-7 业务使用-query 业务使用-mutate private http = HttpClient.getInstance(); private getTestMutate = async () => { const mutation = `gql str`; const result = await this.http.mutate('module name', mutation); console.log(result) return result.data[`xx`]['xx']; // 返回的接口,打印出result对象层次返回 }; 图4-2-4-8 业务使用-mutate 三、如何使用HttpClient 初始化 在项目目录src/main.ts下初始化httpClient 初始化必须要做的事: 设置服务接口链接 设置接口请求回调 业务实战 前文说到自定义新增宠物表单,让我们在这个基础上加入我们的httpClient; 第一步新增service.ts 图4-2-4-8 新增service.ts service.ts import { HttpClient }…

    2024年5月23日
    1.6K00
  • 用户中心

    1. 创建用户 进入用户中心应用,在用户列表中点击创建。 填写表单中的必填信息。 若未设置昵称,则右上角头像右侧展示名称。若设置了昵称,则右上角头像右侧展示昵称。 是否激活账号选择是,选择否时用户登录会显示“未找到首页”。 角色分组中,选择创建的用户的角色,默认选择了超级管理员(包含所有权限)。 点击确定,用户创建完成。 用户登录时可用登录账号/邮箱/手机号登录。 2. 用户相关操作 表格页中包含常规的搜索、批量删除功能。 冻结:当将“是否有效”状态为“是”时展示,将用户“是否有效”修改为“否”。 解冻:当将“是否有效”状态为“否”时展示,将用户“是否有效”修改为“是”。 修改:进入用户信息修改页面,“编码、登录账号、注册时间”只读。 重置密码:点击后在弹窗“账号确认”中输入账号,点击重置密码后,展示新密码。

    2024年6月20日
    2.4K00
  • 3.5.6.4 动作的配置

    在3.5.3【Action的类型】一文中,我们介绍Action的几种类型,以及组合动作。 通用配置 配置项 可选值 默认值 作用 name 动作名称 label 显示名称 icon 图标 type primary defaultlink primary 按钮类型样式,支持主要样式、次要样式以及链接样式。 bizStyle defaultsuccesswarningdangerinfo default 按钮业务样式,支持成功(green)、警告(yellow)、危险(red)、信息(grey)四种样式。 invisible truefalse condition false 展示规则,有简单的true/false显隐,也支持复杂的表达式 disabled truefalse condition 根据动作上下文类型进行自动推断 是否禁用自动推断规则:当上下文类型为【单行】时,相当于使用表达式LIST_COUNT(context.activeRecords) != 1当上下文类型为【多行】时,相当于使用表达式LIST_COUNT(context.activeRecords) <= 1当上下文类型为【单行或多行】时,相当于使用表达式LIST_COUNT(context.activeRecords) == 0 disabledTitle string 根据动作上下文类型进行自动推断 禁用悬浮提示 表3-5-6-12 动作通用配置 二次确认配置 二次确认框默认支持两种模式,对话框和气泡框; 对话框 图3-5-6-51 对话框提示 气泡框 图3-5-6-52 气泡框警告 配置项 配置项 可选值 默认值 作用 备注 confirm string 二次确认提示文字 配置后开启二次确认 confirmType POPPER(气泡提示框) MODAL(对话框) POPPER 确认框类型 confirmPosition TM(按钮上方) BM(按钮下方) LM(按钮左侧) RM(按钮右侧) BM 确认框位置 气泡框该配置生效 enterText 确定 确定按钮文字 cancelText 取消 取消按钮文字 表3-5-6-13 配置项 弹出层动作配置(窗口动作ViewAction) 目前平台对于弹出层支持了两种展示形式。弹窗(modal/dialog)和抽屉(drawer) 支持两种配置方式【内嵌视图配置】和【引用已有页面】,内嵌视图配置优先于引用已有页面。 内嵌视图配置 该配置对于弹窗和抽屉均适用。 <action name="窗口动作名称" label="创建"> <view model="模型编码" type="form"> <template slot="form" widget="form"> <field data="id" invisible="true" /> <field data="code" label="编码" widget="Input" /> <field data="name" label="名称" widget="Input" /> </template> <template slot="footer"> <action name="$$internal_DialogCancel" label="关闭" type="default" /> <action name="create" label="确定" /> </template> </view> </action> 图3-5-6-53 内嵌视图配置 引用已有页面配置 该配置对于弹窗和抽屉均适用。 <view model="模型编码" type="form"> <template slot="form" widget="form"> <field data="id" invisible="true" /> <field data="code" label="编码" widget="Input" /> <field data="name" label="名称" widget="Input" /> </template> <template slot="footer"> <action name="$$internal_DialogCancel" label="关闭" type="default" /> <action name="create" label="确定" /> </template> </view> 图3-5-6-54 引用已有页面示例 <action name="窗口动作名称" label="创建" resViewName="$viewName$" /> 图3-5-6-55 引用已有页面 弹窗 当窗口动作的路由方式(target)为dialog时,内嵌视图/引用页面将以弹窗形式展示在页面上。 配置项 配置项 可选值 默认值 作用 title…

    2024年5月23日
    1.2K00
  • 4.5.2 研发辅助之SQL优化

    Oinone体系中是不需要针对模型写SQL的,默认提供了通用的数据管理器。在带来便利的情况下,也导致传统的sql审查就没办法开展。但是我们可以以技术的手段收集慢SQL和限制问题SQL执行。 慢SQL搜集目的:去发现非原则性问题的慢SQL,并进行整改 限制问题SQL执行:对应一些不规范的SQL系统上直接做限制,如果有特殊情况手动放开 一、发现慢SQL 这个功能并没有直接加入到oinone的版本中,需要业务自行写插件,插件代码如下。大家可以根据实际情况进行改造比如: 堆栈入口,例子中只是放了pamirs,可以根据实际情况改成业务包路径 对慢SQL的定义是5s还是3s,根据实际情况变 package pro.shushi.pamirs.demo.core.plugin; import org.apache.ibatis.executor.Executor; import org.apache.ibatis.mapping.MappedStatement; import org.apache.ibatis.plugin.*; import org.apache.ibatis.session.ResultHandler; import org.apache.ibatis.session.RowBounds; import org.springframework.stereotype.Component; import pro.shushi.pamirs.meta.annotation.fun.extern.Slf4j; @Intercepts({ @Signature(type = Executor.class,method = "query",args = {MappedStatement.class,Object.class, RowBounds.class, ResultHandler.class}) }) @Component @Slf4j public class SlowSQLAnalysisInterceptor implements Interceptor { @Override public Object intercept(Invocation invocation) throws Throwable { long start = System.currentTimeMillis(); Object result = invocation.proceed(); long end = System.currentTimeMillis(); if (end – start > 10000) {//大于10秒 try { StackTraceElement[] stackTraceElements = Thread.currentThread().getStackTrace(); StringBuffer slowLog = new StringBuffer(); slowLog.append(System.lineSeparator()); for (StackTraceElement element : stackTraceElements) { if (element.getClassName().indexOf("pamirs") > 0) { slowLog.append(element.getClassName()).append(":").append(element.getMethodName()).append(":").append(element.getLineNumber()).append(System.lineSeparator()); } } Object parameter = null; if (invocation.getArgs().length > 1) { parameter = invocation.getArgs()[1]; } MappedStatement mappedStatement = (MappedStatement) invocation.getArgs()[0]; BoundSql boundSql = mappedStatement.getBoundSql(parameter); Configuration configuration = mappedStatement.getConfiguration(); String originalSql = showSql(configuration, boundSql); originalSql = originalSql.replaceAll("\'", "").replace("\"", ""); log.warn("检测到的慢SQL为:" + originalSql); log.warn("业务慢SQL入口为:" + slowLog.toString()); } catch (Throwable e1) { //忽略 } } return result; } public String showSql(Configuration configuration, BoundSql boundSql) { Object parameterObject = boundSql.getParameterObject(); List<ParameterMapping> parameterMappings = boundSql.getParameterMappings(); String sql = boundSql.getSql().replaceAll("[\\s]+", " "); if (parameterMappings.size() > 0 && parameterObject != null) { TypeHandlerRegistry typeHandlerRegistry…

    Oinone 7天入门到精通 2024年5月23日
    1.4K00

Leave a Reply

登录后才能评论