4.1.9 函数之元位指令

元位指令系统是通过给请求上下文的指令位字段作按位与标记来对函数处理下发对应指令的系统。

一、元位指令介绍

元位指令系统是通过给请求上下文的指令位字段作按位与标记来对函数处理下发对应指令的系统。

元位指令系统分为请求上下文指令和数据指令两种。

数据指令

数据指令基本都是系统内核指令。业务开发时用不到这里就不介绍了。前20位都是系统内核预留

请求上下文指令

请求上下文指令:使用session上下文中非持久化META_BIT属性设置指令。

指令 指令名 前端默认值 后端默认值 描述
20 builtAction 内建动作 是否是平台内置定义的服务器动作对应操作:PamirsSession.directive().disableBuiltAction(); PamirsSession.directive().enableBuiltAction();
21 unlock 失效乐观锁 系统对带有乐观锁模型默认使用乐观锁对应操作:PamirsSession.directive().enableOptimisticLocker(); PamirsSession.directive().disableOptimisticLocker();
22 check 数据校验 系统后端操作默认不进行数据校验,标记后生效数据校验对应操作:PamirsSession.directive().enableCheck(); PamirsSession.directive().disableCheck();
23 defaultValue 默认值计算 是否自动填充默认值对应操作:PamirsSession.directive().enableDefaultValue(); PamirsSession.directive().disableDefaultValue();
24 extPoint 执行扩展点 前端请求默认执行扩展点,可以标记忽略扩展点。后端编程式调用数据管理器默认不执行扩展点对应操作:PamirsSession.directive().enableExtPoint(); PamirsSession.directive().disableExtPoint();
25 hook 拦截 是否进行函数调用拦截对应操作:PamirsSession.directive().enableHook(); PamirsSession.directive().disableHook();
26 authenticate 鉴权 系统默认进行权限校验与过滤,标记后使用权限校验对应操作:PamirsSession.directive().sudo(); PamirsSession.directive().disableSudo();
27 ormColumn ORM字段别名 系统指令,请勿设置
28 usePkStrategy 使用PK策略 使用PK是否空作为采用新增还是更新的持久化策略对应操作:PamirsSession.directive().enableUsePkStrategy(); PamirsSession.directive().disableUsePkStrategy();
29 fromClient 是否客户端调用 是否客户端(前端)调用对应操作:PamirsSession.directive().enableFromClient(); PamirsSession.directive().disableFromClient();
30 sync 同步执行函数 异步执行函数强制使用同步方式执行(仅对Spring Bean有效)
31 ignoreFunManagement 忽略函数管理 忽略函数管理器处理,防止Spring调用重复拦截对应操作:PamirsSession.directive().enableIgnoreFunManagement(); PamirsSession.directive().disableIgnoreFunManagement();

表4-1-9-1 请求上下文指令

二、使用指令

普通模式

PamirsSession.directive().disableOptimisticLocker();
try{
    更新逻辑
} finally {
    PamirsSession.directive().enableOptimisticLocker();
}

图4-1-9-1 普通模式代码示意

批量设置模式

Models.directive().run(() -> {此处添加逻辑}, SystemDirectiveEnum.AUTHENTICATE)

图4-1-9-2 批量设置模式代码示意

三、使用举例

我们在4.1.5【模型之持久层配置】一文中提到过失效乐观锁,我们在这里就尝试下吧。

Step1 修改PetItemInventroyAction

手动失效乐观锁

package pro.shushi.pamirs.demo.core.action;

import org.springframework.stereotype.Component;
import pro.shushi.pamirs.demo.api.model.PetItemInventroy;
import pro.shushi.pamirs.meta.annotation.Function;
import pro.shushi.pamirs.meta.annotation.Model;
import pro.shushi.pamirs.meta.api.session.PamirsSession;
import pro.shushi.pamirs.meta.constant.FunctionConstants;
import pro.shushi.pamirs.meta.enmu.FunctionOpenEnum;
import pro.shushi.pamirs.meta.enmu.FunctionTypeEnum;

import java.util.ArrayList;
import java.util.List;

@Model.model(PetItemInventroy.MODEL_MODEL)
@Component
public class PetItemInventroyAction {

    @Function.Advanced(type= FunctionTypeEnum.UPDATE)
    @Function.fun(FunctionConstants.update)
    @Function(openLevel = {FunctionOpenEnum.API})
    public PetItemInventroy update(PetItemInventroy data){
        List<PetItemInventroy> inventroys = new ArrayList<>();
        inventroys.add(data);
        PamirsSession.directive().disableOptimisticLocker();
        try{
            //批量更新会,自动抛错
            int i = data.updateBatch(inventroys);
            //单记录更新,不自动抛售需要自行判断
//        int i = data.updateById();
//        if(i!=1){
//            throw PamirsException.construct(DemoExpEnumerate.PET_ITEM_INVENTROY_UPDATE_VERSION_ERROR).errThrow();
//        }
        } finally {
            PamirsSession.directive().enableOptimisticLocker();
        }
        return data;
    }

}

图4-1-9-3 修改PetItemInventroyAction

Step2 重启看效果

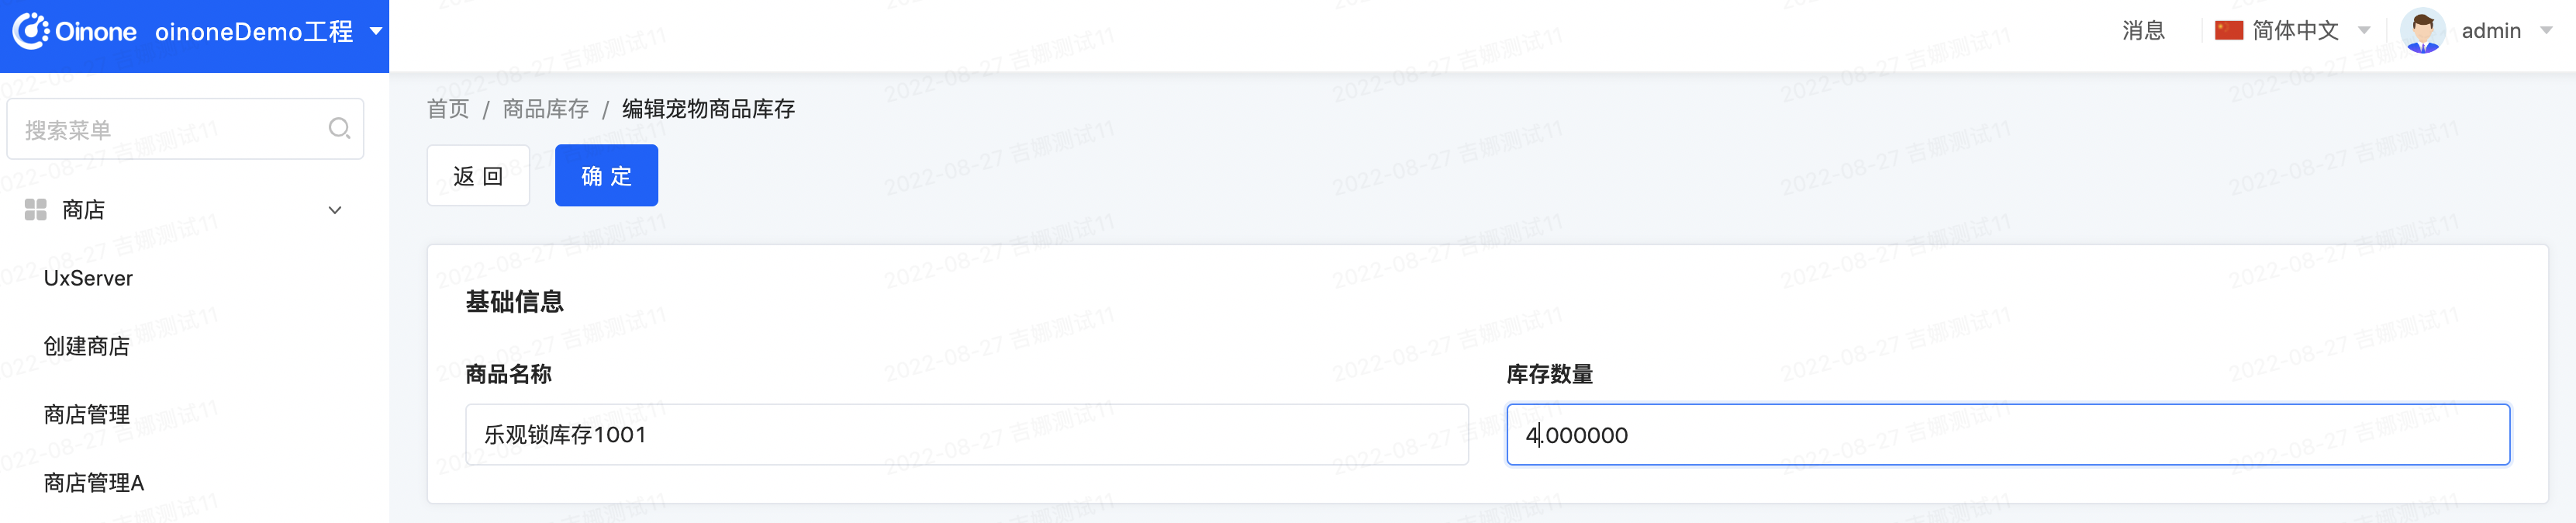
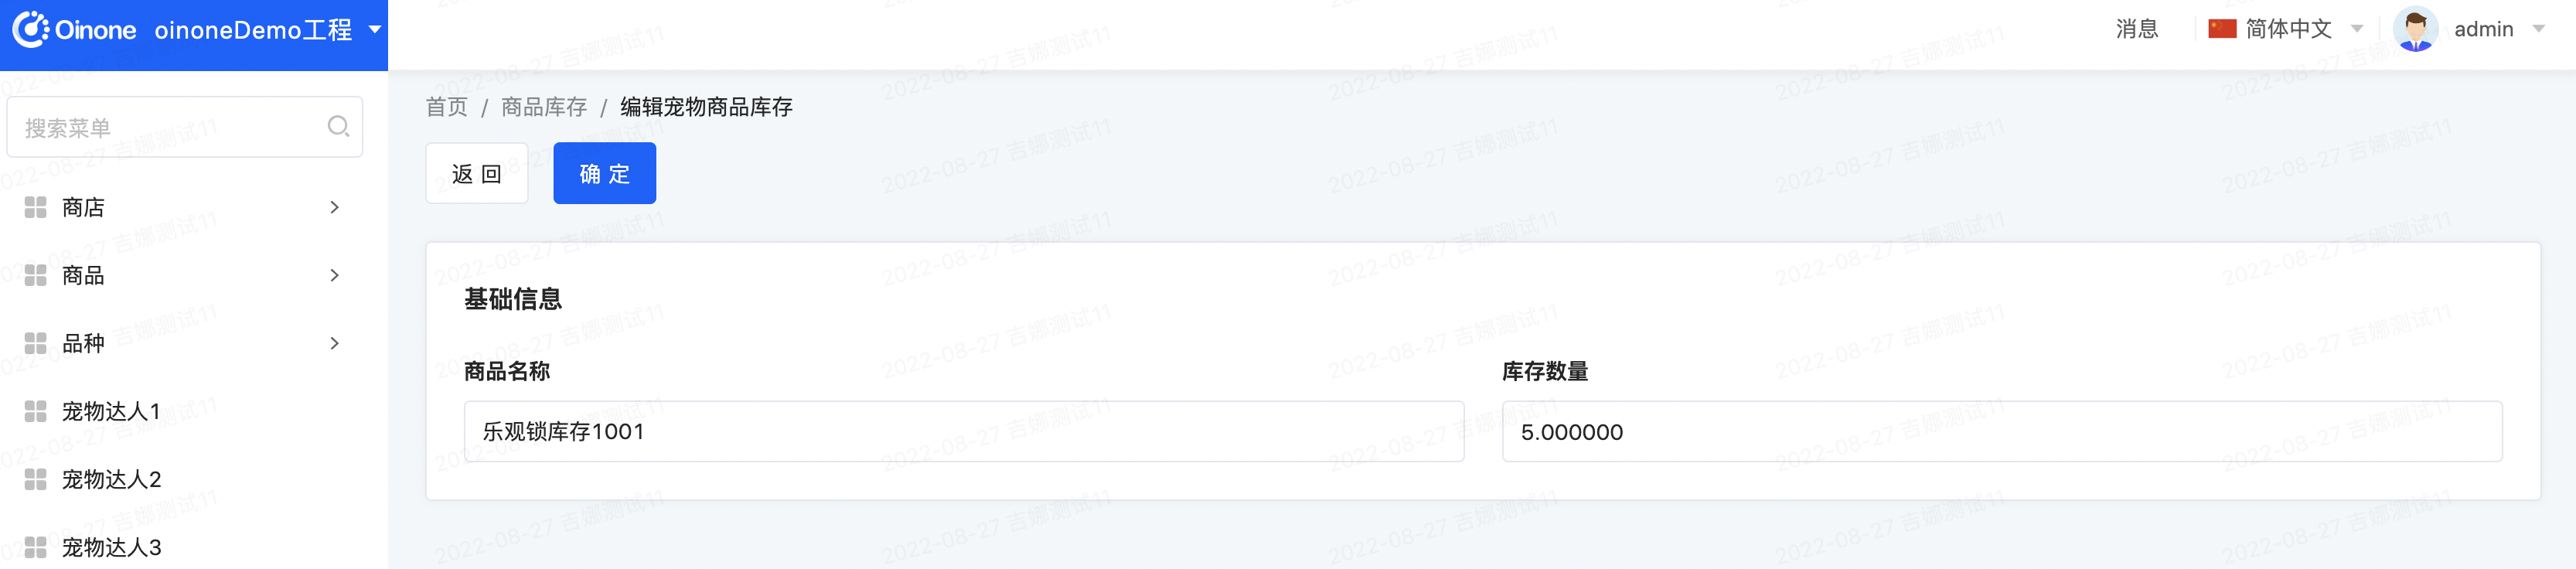
体验一:页面上修改记录,数据库字段中的opt_version不再自动加一
体验二:同时打两个页面,依次点击,您会发现两次都成功。数据库字段中的opt_version不再自动加一

image.png

图4-1-9-4 编辑宠物商品库存

image.png

图4-1-9-5 编辑宠物商品库存

image.png

图4-1-9-6 宠物商品库存的数据库记录变化

Oinone社区 作者:史, 昂原创文章,如若转载,请注明出处:https://doc.oinone.top/oio4/9284.html

访问Oinone官网:https://www.oinone.top获取数式Oinone低代码应用平台体验

Like (0)
史, 昂's avatar史, 昂数式管理员
Previous 2024年5月23日 am8:54
Next 2024年5月23日 am8:56

相关推荐

  • 3.5.5.1 设计器数据导出

    简介 通过调用导出接口,将设计器的设计数据与运动数据打包导出到文件中。 提供了download/export两类接口。 export 导出到OSS。导出的文件会上传到文件服务,通过返回的url下载导出文件。 请求示例: mutation { uiDesignerExportReqMutation { export( data: { module: "gemini_core", fileName: "meta", moduleBasics: true } ) { jsonUrl } } } 响应示例: { "data": { "uiDesignerExportReqMutation": { "export": { "jsonUrl": "https://xxx/meta.json" } } }, "errors": [], "extensions": {} } download 直接返回导出数据。适用于通过浏览器直接下载文件。 请求示例: mutation { uiDesignerExportReqMutation { download( data: { module: "gemini_core", fileName: "meta", moduleBasics: true } ) { jsonUrl } } } 如何构造url protocol :// hostname[:port] / path ? query=URLEncode(GraphQL) 例: http://127.0.0.1:8080/pamirs/base?query=mutation%20%7B%0A%09uiDesignerExportReqMutation%20%7B%0A%09%09download(%0A%09%09%09data%3A%20%7B%20module%3A%20%22gemini_core%22%2C%20fileName%3A%20%22meta%22%2C%20moduleBasics%3A%20true%20%7D%0A%09%09)%20%7B%0A%09%09%09jsonUrl%0A%09%09%7D%0A%09%7D%0A%7D 在浏览器中访问构造后的url,可直接下载文件 接口列表 模型设计器 指定模块导出 query { modelMetaDataExporterQuery { export/download(query: { module: "模块编码" }) { module url } } } module参数:指定导出的模块编码 url返回结果:export方式导出的文件url 页面设计器 导出页面 指定模块导出 mmutation { uiDesignerExportReqMutation { download/export( data: { module: "gemini_core", fileName: "meta", moduleBasics: false } ) { jsonUrl } } } module参数:模块编码 fileName参数:指定生成的json文件名称 moduleBasics参数:指定是否只导出模块基础数据,如果为true,只导出内置布局、模块菜单、菜单关联的动作。 如果为false,还会导出模块内的所有页面,以及页面关联的动作元数据、页面设计数据 等等。 默认值为false。 指定菜单导出 mutation { uiDesignerExportReqMutation { download/export( data: { menu: { name: "uiMenu0000000000048001" } fileName: "meta" relationViews: true } ) { jsonUrl } } } menu参数:菜单对象,指定菜单的name。只会导出该菜单及其绑定页面,不会递归查询子菜单 fileName参数:指定生成的json文件名称 relationViews参数:指定是否导出关联页面,默认为false,只导出菜单关联的页面。如果为true,还会导出该页面通过跳转动作关联的自定义页面。 指定页面导出 mutation { uiDesignerExportReqMutation { download/export( data: { view: { name: "xx_TABLE_0000000000119001" model: "ui.designer.TestUiDesigner" } fileName: "meta" relationViews: true } ) { jsonUrl } } }…

    Oinone 7天入门到精通 2024年5月23日
    1.9K00
  • 4.1.13 Action之校验

    在3.5.3【Action的类型】一文中有涉及到“ServerAction之校验”部分,本文介绍一个特殊的写法,当内置函数和表达式不够用的时候,怎么扩展。还是拿PetShopProxyAction举例,修改如下: package pro.shushi.pamirs.demo.core.action; ……引依赖类 @Model.model(PetShopProxy.MODEL_MODEL) @Component public class PetShopProxyAction extends DataStatusBehavior<PetShopProxy> { ……其他代码 // @Validation(ruleWithTips = { // @Validation.Rule(value = "!IS_BLANK(data.code)", error = "编码为必填项"), // @Validation.Rule(value = "LEN(data.shopName) < 128", error = "名称过长,不能超过128位"), // }) @Validation(check = "checkName") @Action(displayName = "启用") @Action.Advanced(rule="activeRecord.code !== undefined && !IS_BLANK(activeRecord.code)") public PetShopProxy dataStatusEnable(PetShopProxy data){ data = super.dataStatusEnable(data); data.updateById(); return data; } @Function public Boolean checkName(PetShopProxy data) { String field = "name"; String name = data.getShopName(); boolean success = true; if (StringUtils.isBlank(name)) { PamirsSession.getMessageHub() .msg(Message.init() .setLevel(InformationLevelEnum.ERROR) .setField(field) .setMessage("名称为必填项")); success = false; } if (name.length() > 128) { PamirsSession.getMessageHub() .msg(Message.init() .setLevel(InformationLevelEnum.ERROR) .setField(field) .setMessage("名称过长,不能超过128位")); success = false; } return success; } ……其他代码 } 图4-1-13-1 PetShopProxyAction扩展配置 注: check属性指定了校验函数名称,命名空间必须与服务器动作一致。 校验函数的入参必须与服务器动作一致 使用PamirsSession#getMessageHub方法可通知前端错误的属性及需要展示的提示信息,允许多个。

    Oinone 7天入门到精通 2024年5月23日
    1.6K00
  • 3.5.2.3 构建View的Layout

    在日常需求中也经常需要调整Layout的情况,如出现树表结构(左树右表、级联),我们则需要通过修改View的Layout来完成。今天就带您学习下Layout的自定义 第一个表格Layout 如果我们想去除表格视图区域的搜索区、ActionBar(操作区),就可以为视图自定义一个简单的Layout就行啦 Step1 新建一个表格的Layout 在views/demo_core/layout路径下增加一个名为sample_table_layout.xml文件,name设置为sampleTableLayout <view type="TABLE" name="sampleTableLayout"> <!– <view type="SEARCH">–> <!– <pack widget="fieldset">–> <!– <element widget="search" slot="search" slotSupport="field"/>–> <!– </pack>–> <!– </view>–> <pack widget="fieldset" style="height: 100%" wrapperStyle="height: 100%"> <pack widget="row" style="height: 100%; flex-direction: column"> <!– <pack widget="col" mode="full" style="flex: 0 0 auto">–> <!– <element widget="actionBar" slot="actionBar" slotSupport="action">–> <!– <xslot name="actions" slotSupport="action" />–> <!– </element>–> <!– </pack>–> <pack widget="col" mode="full" style="min-height: 234px"> <element widget="table" slot="table" slotSupport="field"> <xslot name="fields" slotSupport="field" /> <element widget="rowAction" slot="rowActions" slotSupport="action"/> </element> </pack> </pack> </pack> </view> 图3-5-2-27 新建一个表格的Layout Step2 修改宠物达人自定义表格Template 在view标签上增加layout属性值为"sampleTableLayout" <view name="tableView" model="demo.PetTalent" cols="1" type="TABLE" enableSequence="true" layout="sampleTableLayout"> ……省略其他 </view> 图3-5-2-28 修改宠物达人自定义表格Template Step3 重启看效果 图3-5-2-29 示例效果 Step4 修改宠物达人自定义表格Template 去除在view标签上的layout属性配置,让其回复正常 第一个树表Layout 本节以“给商品管理页面以树表的方式增加商品类目过滤”为例 Step1 增加商品类目模型 增加PetItemCategory模型继承CodeModel,新增两个字段定义name和parent,其中parent字段M2O关联自身模型,非必填字段(如字段值为空即为一级类目): package pro.shushi.pamirs.demo.api.model; import pro.shushi.pamirs.meta.annotation.Field; import pro.shushi.pamirs.meta.annotation.Model; import pro.shushi.pamirs.meta.base.common.CodeModel; @Model.model(PetItemCategory.MODEL_MODEL) @Model(displayName = "宠物商品类目",summary="宠物商品类目",labelFields={"name"}) public class PetItemCategory extends CodeModel { public static final String MODEL_MODEL="demo.PetItemCategory"; @Field(displayName = "类目名称",required = true) private String name; @Field(displayName = "父类目") @Field.many2one private PetItemCategory parent; } 图3-5-2-30 增加商品类目模型 Step2 修改自定义商品模型 为商品模型PetItem增加一个category字段m2o关联PetItemCategory @Field(displayName = "类目") @Field.many2one private PetItemCategory category; 图3-5-2-31 修改宠物商品模型 Step3 新增名为treeTableLayout的Layout 在views/demo_core/layout路径下增加一个名为tree_table_layout.xml文件,name设置为treeTableLayout 图3-5-2-32 新增名为treeTableLayout的Layout <view type="TABLE" name="treeTableLayout"> <view type="SEARCH"> <pack widget="fieldset"> <element widget="search" slot="search" slotSupport="field"/> </pack> </view> <pack…

    2024年5月23日
    1.3K00
  • 3.5.6.3 布局的配置

    布局是将页面拆分成一个一个的小单元,按照上下中左右进行排列。 前沿 在前端领域中,布局可以分为三大块「Float、Flex、Grid 」,Float可以说的上是上古时期的布局了,如今市面还是很少见的,除了一些古老的网站。 目前,平台主要支持通过配置XML上面的cols和span来进行布局。平台也同样支持自由布局,合理的使用row、col、containers和container四个布局容器相关组件,将可以实现各种类型的布局样式,换句话说,平台实现的自由布局功能是Flex和Grid的结合体。 这里主要是讲解Flex和Grid布局,以及目前新的模板布局实现的思路。 Flex布局 Flex布局采用的是一维布局,那么什么是一维布局呢,所谓的一维布局就是只有一个方向、没有体积、面积,比如一条直线。它适合做局部布局,就像我们原来的顶部菜单、面包屑导航,以及现在的主视图字段配置。 图3-5-6-19 Flex布局示意 图3-5-6-20 Flex布局示意 图3-5-6-21 Flex布局示意 从上图可以看看出,Flex布局只能在X、Y轴进行转换,它无法对上下左右四个方向同时处理,因为它没“面积”的概念。所以它最适合做局部布局。 优点 图3-5-6-22 Flex兼容性 Flex的兼容性,可以看得出来,目前主流的浏览器都支持该属性。所以Flex兼容性强,如果你想对局部做布局处理,Flex是最好选择。 缺陷 刚刚也提到了,用户想要的布局是千奇百怪的,如果他想要的布局在现有的功能中无法实现怎么办?让用户放弃?还是说服他使用现在的布局。 Grid布局 Grid布局系统采用的是二维布局,二维布局有四个方向:上、下、左、右,它只有面积没有体积,比如一张纸、网格。 Grid布局 <div id="grid-container-one"> <div class="one-1">Grid Item 1</div> <div>Grid Item 2</div> <div>Grid Item 3</div> <div>Grid Item 4</div> <div>Grid Item 5</div> <div class="one-6">Grid Item 6</div> </div> <div id="grid-container-two"> <div class="tow-1">Grid Item 1</div> <div class="tow-2">Grid Item 2</div> <div>Grid Item 3</div> <div>Grid Item 4</div> <div>Grid Item 5</div> <div>Grid Item 6</div> </div> <div id="grid-container-three"> <div>Grid Item 1</div> <div>Grid Item 2</div> <div class="grid">Grid Item 3</div> <div class="grid-column">Grid Item 4</div> <div>Grid Item 5</div> <div>Grid Item 6</div> <div>Grid Item 7</div> <div class="grid-column">Grid Item 8</div> </div> HTML CSSResult Skip Results Iframe EDIT ON * { box-sizing: border-box; padding: 0; margin: 0; line-height: 1.5; font-weight: bold; text-align: center; } #grid-container-one{ background-color: black; display: grid; grid-template-columns: repeat(3, 1fr); grid-template-rows: repeat(2, 50px); gap: 10px; border: solid black 2px; margin-bottom: 20px; color: salmon; } #grid-container-one div { border: solid white 2px; padding: 10px; } #grid-container-one .one-1 { grid-area: span 1/span 3; text-aligin: center } #grid-container-one .one-6 { grid-column: 3 /4; } #grid-container-two{ background-color: CADETBLUE; display: grid; grid-template-columns: 15% repeat(2, 1fr);…

    2024年5月23日
    1.5K00
  • 李强

    我们常说“在今天所有的不确定性当中,数字化是最大的确定性”,数字化一定会全面改造所有的行业更是确定的。在菜鸟九年的探索中,我们最大的感受是“未来,任何一个物流企业都会是一个技术公司,真正拉开差距的是:技术与实体产业的结合有多深”。菜鸟“简单极致,贴地疾飞”的技术文化也深刻体现了这一点——好的技术要能解决实际问题。数字化并不是简单地上线一个或几个系统,这是一个贴近业务持续迭代的过程,伴随着这个过程,我相信会诞生非常多的创新技术。 在本书中我看到了工程思维在推进技术创新的缩影,把难的问题转化为简单的问题,用成熟实用的技术分而解之。高性能的微服务框架、CDM、元数据、低代码、无代码等,都是当下非常热门的技术课题,Oinone把这一切都有机地结合起来,形成了一种具备先进理念的全新一代软件产品,每一个特性都贴合企业数字化遇到的实际问题。Oinone的产品设计,把“大道至简,软件自造”贯穿始终,用最简单的方式,帮助企业驾驭数字化,相信会给企业带来不一样的体验。 就跟本书提到的“「企业视角由内部管理转向业务在线、生态在线(协同)带来一系列新的诉求」这一大背景下,以及云、端等新技术的发展,对研发人员的需求越来越大,同时要求越来越高,低代码平台是提升研发效率,降低研发成本的核心手段”,低代码已经不是需不需要的问题,而是怎么选的问题。菜鸟网络自身也在推进自有低代码开发平台,我们有幸邀请本书作者陈鹏程来到菜鸟网络进行了分享交流,收获非常大。如您正在选型低代码开发平台,向您推荐这本书,低无一体的Oinone肯定会打动您。 菜鸟网络CTO李强(在宽)

    Oinone 7天入门到精通 2024年5月23日
    2.0K00

Leave a Reply

Please Login to Comment