
在业务应用中我们经常需要为一些核心数据的变更做审计追踪,记录字段的前后变化、操作IP、操作人、操作地址等等。数据审计模块为此提供了支撑和统一管理。它在成熟的企业的核心业务系统中,需求是比较旺盛的。接下来我们开始学习下数据审计模块
准备工作
pamirs-demo-core的pom文件中引入pamirs-data-audit-api包依赖
<dependency>
    <groupId>pro.shushi.pamirs.core</groupId>
    <artifactId>pamirs-data-audit-api</artifactId>
</dependency>
pamirs-demo-boot的pom文件中引入pamirs-data-audit-core和pamirs-third-party-map-core包依赖,数据审计会记录操作人的地址信息,所以也依赖了pamirs-third-party-map-core
<dependency>
    <groupId>pro.shushi.pamirs.core</groupId>
    <artifactId>pamirs-data-audit-core</artifactId>
</dependency>
<dependency>
    <groupId>pro.shushi.pamirs.core.map</groupId>
    <artifactId>pamirs-third-party-map-core</artifactId>
</dependency>
pamirs-demo-boot的application-dev.yml文件中增加配置pamirs.boot.modules增加data_audit 和third_party_map,即在启动模块中增加data_audit和third_party_map模块
pamirs:
    boot:
    modules:
      - data_audit
      - tp_map
为third_party_map模块增加高德接口api,下面e439dda234467b07709f28b57f0a9bd5换成自己的key
pamirs:
    eip:
    map:
        gd:
        key: e439dda234467b07709f28b57f0a9bd5
数据审计
注解式(举例)
Step1 新增PetTalentDataAudit数据审计定义类
package pro.shushi.pamirs.demo.core.init.audit;

import pro.shushi.pamirs.data.audit.api.annotation.DataAudit;
import pro.shushi.pamirs.demo.api.model.PetTalent;

@DataAudit(
        model = PetTalent.MODEL_MODEL,//需要审计的模型
        modelName = "宠物达人" ,//模型名称,默认模型对应的displayName
        //操作名称
        optTypes = {PetTalentDataAudit.PETTALENT_CREATE,PetTalentDataAudit.PETTALENT_UDPATE},
        fields={"nick","picList.id","picList.url","petShops.id","petShops.shopName"}//需要审计的字段,关系字段用"."连结
)
public class PetTalentDataAudit {
    public static final String PETTALENT_CREATE ="宠物达人创建";
    public static final String PETTALENT_UDPATE ="宠物达人修改";
Step2 修改PetTalentAction的update方法
做审计日志埋点:手工调用 OperationLogBuilder.newInstance().record()方法。需要注意的是这里需要把原有记录的数据值先查出来做对比
@Function.Advanced(type= FunctionTypeEnum.UPDATE)
@Function.fun(FunctionConstants.update)
@Function(openLevel = {FunctionOpenEnum.API})
public PetTalent update(PetTalent data){
//记录日志
OperationLogBuilder.newInstance(PetTalent.MODEL_MODEL, PetTalentDataAudit.PETTALENT_UDPATE).record(data.queryById().fieldQuery(PetTalent::getPicList).fieldQuery(PetTalent::getPetShops),data);
PetTalent existPetTalent = new PetTalent().queryById(data.getId());
if(existPetTalent !=null){
existPetTalent.fieldQuery(PetTalent::getPicList);
existPetTalent.fieldQuery(PetTalent::getPetShops);
existPetTalent.relationDelete(PetTalent::getPicList);
existPetTalent.relationDelete(PetTalent::getPetShops);
}
data.updateById();
data.fieldSave(PetTalent::getPicList);
data.fieldSave(PetTalent::getPetShops);
return data;
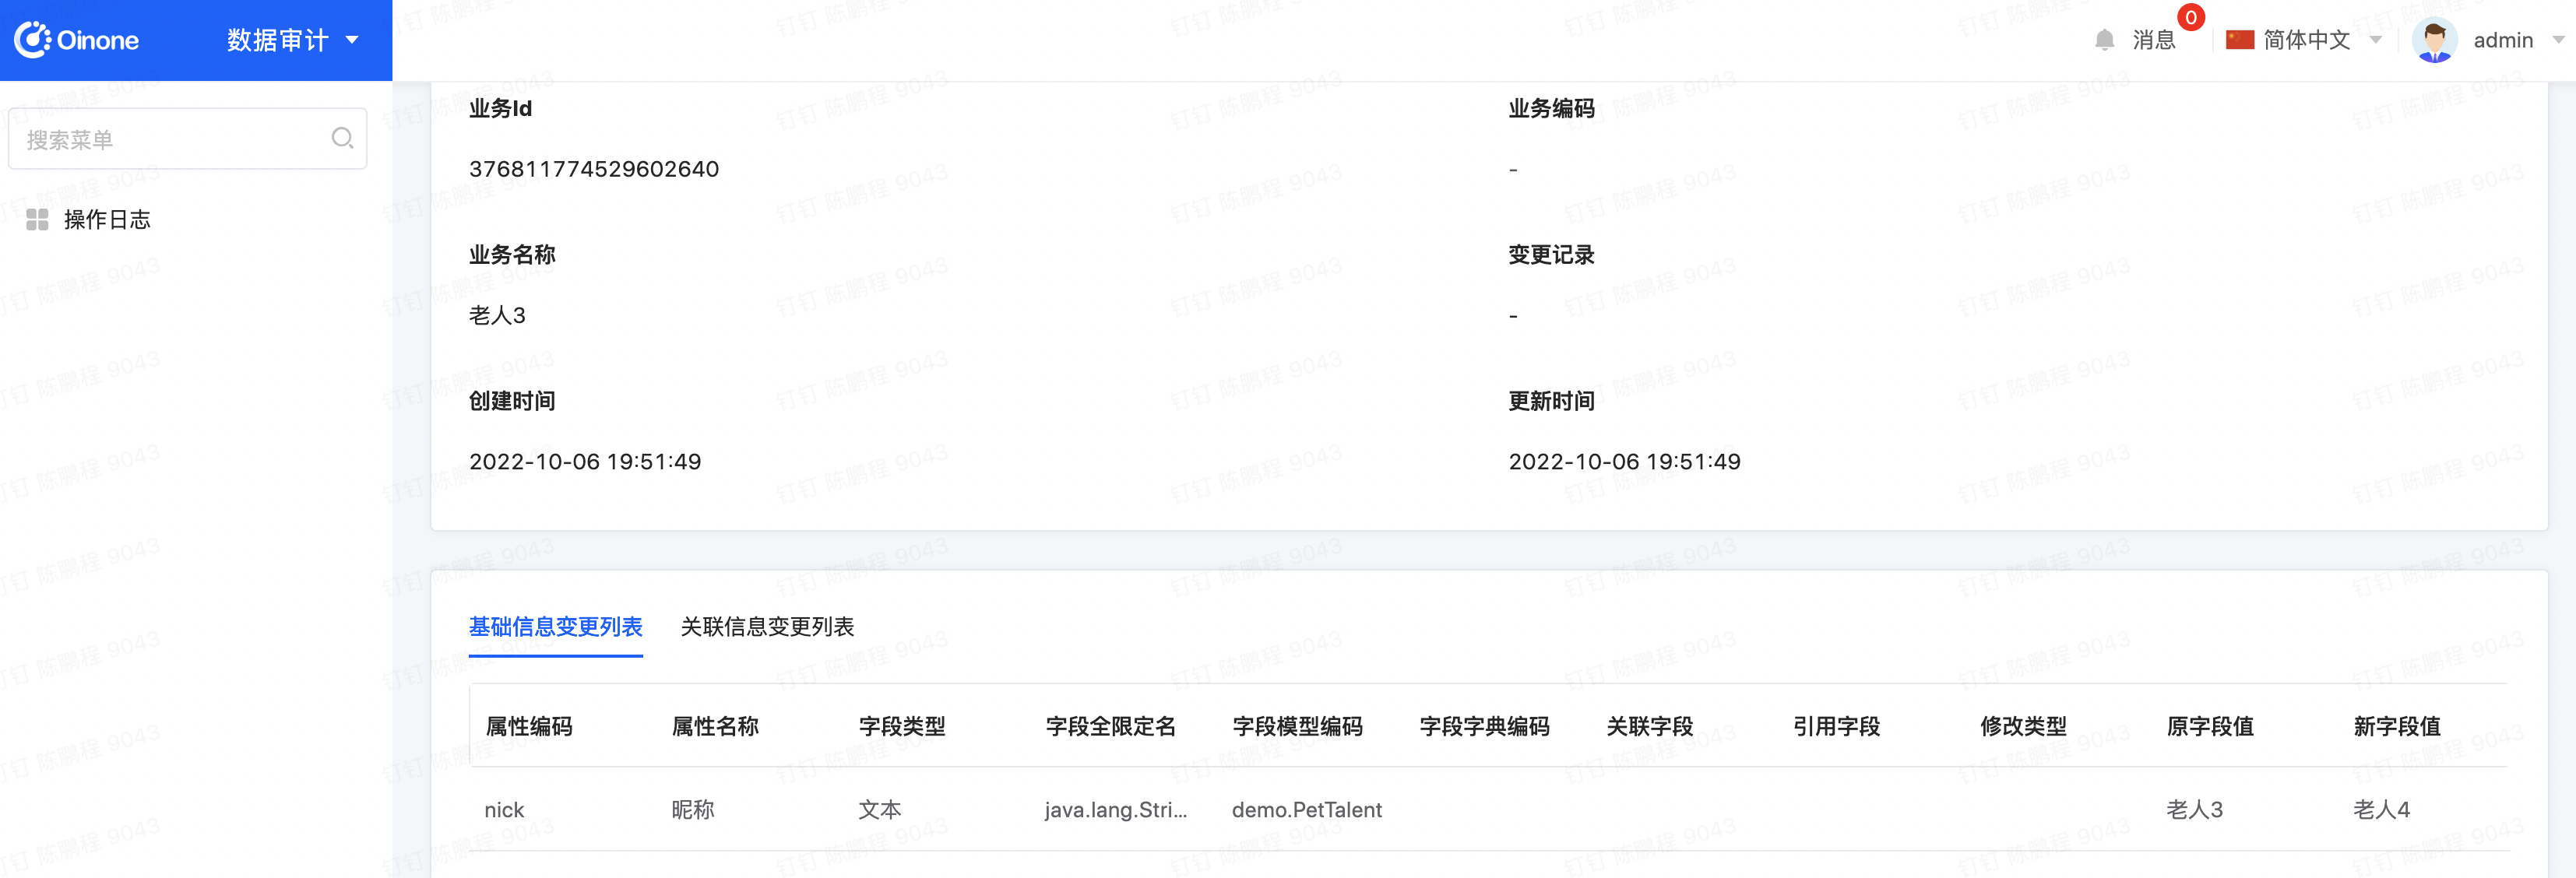
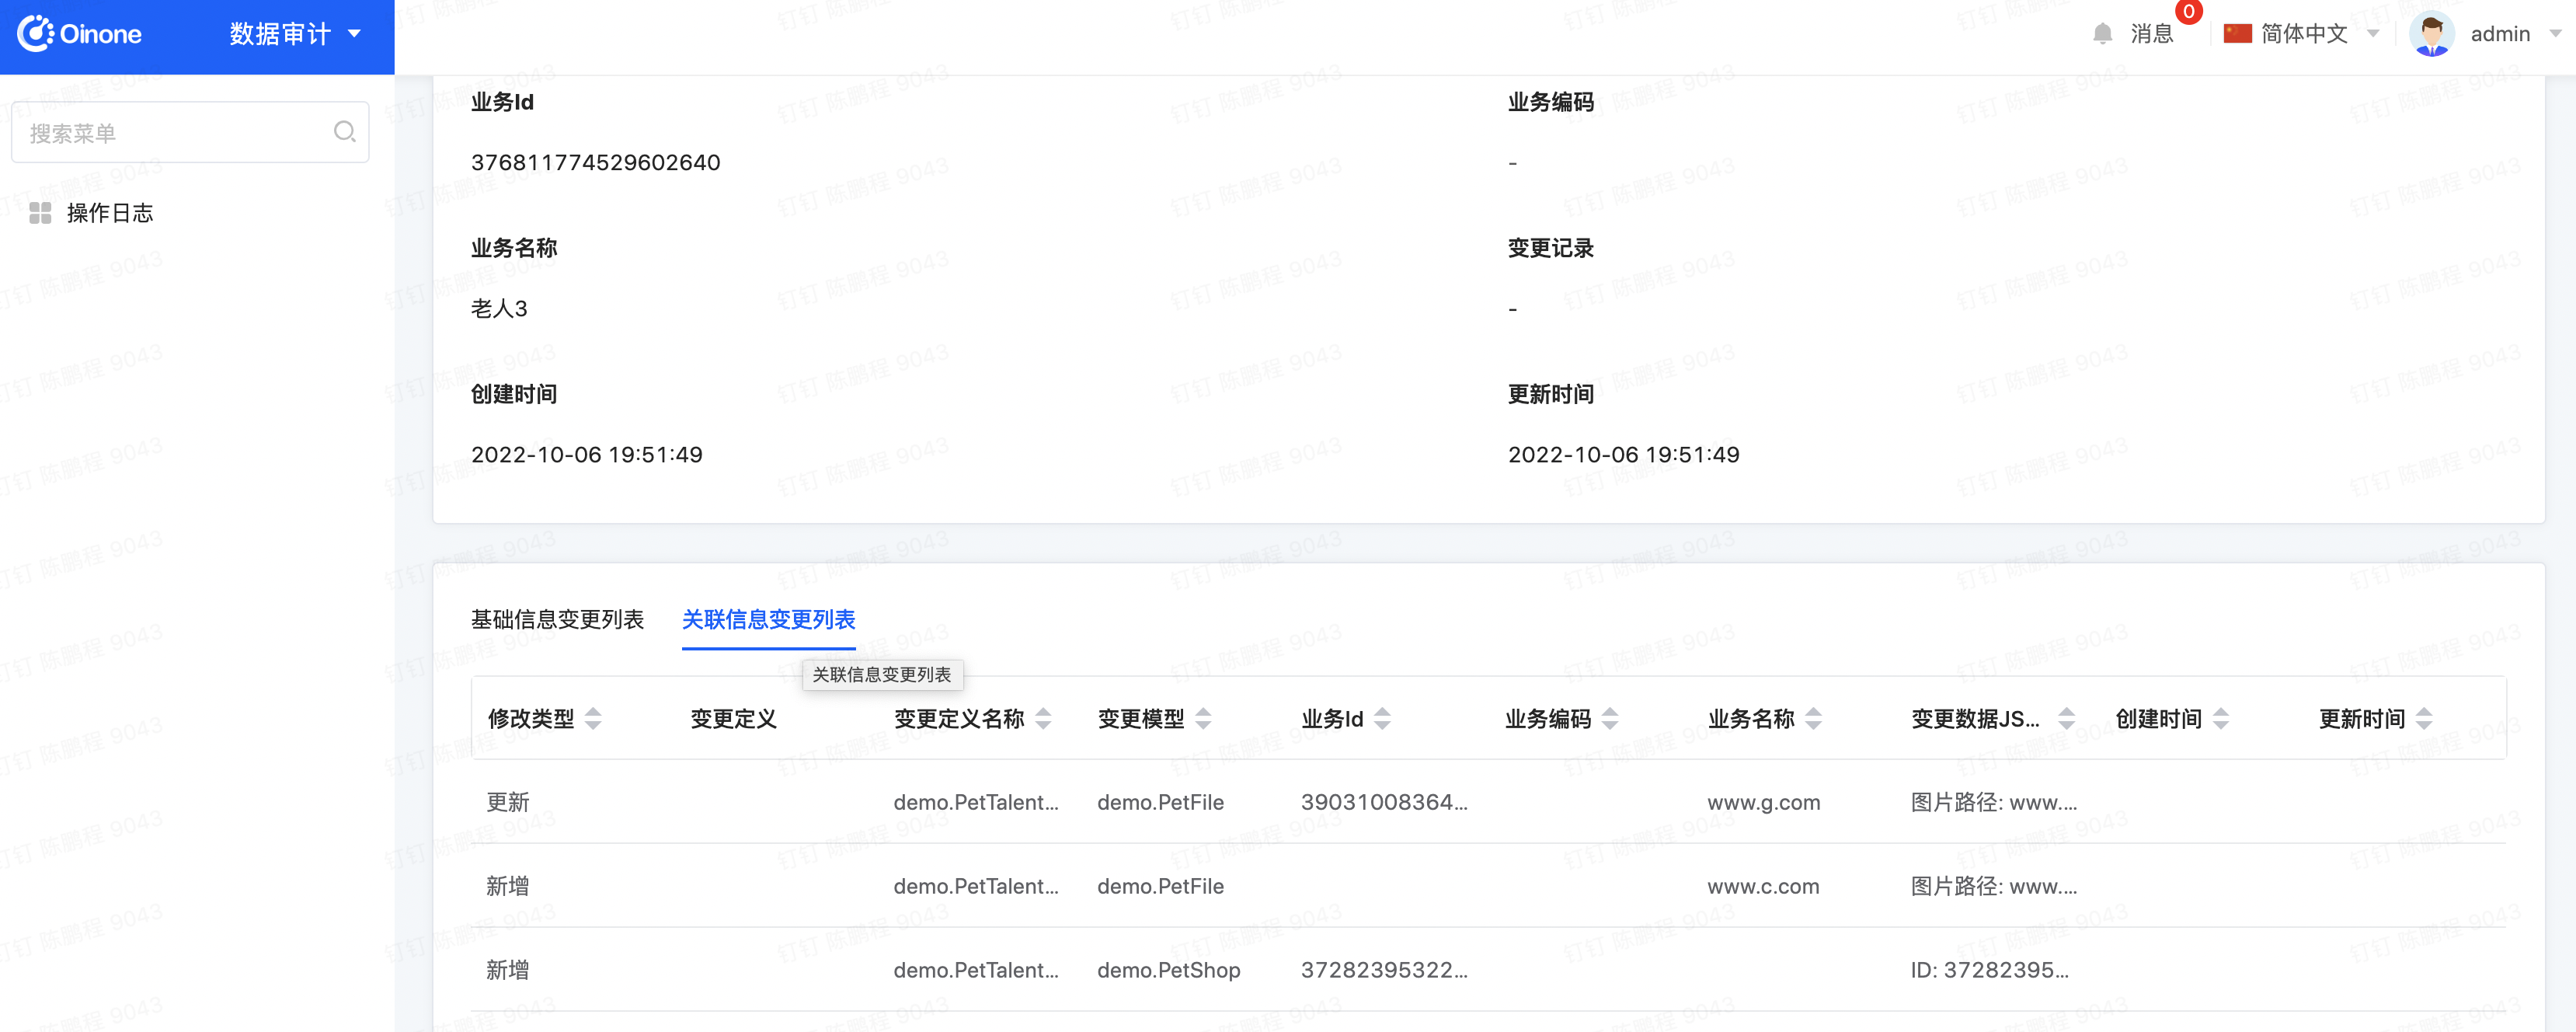
}Step3 重启看效果
修改宠物达人记录对应的字段,然后进入审计模块查看日志

Oinone社区 作者:史, 昂原创文章,如若转载,请注明出处:https://doc.oinone.top/oio4/9327.html
访问Oinone官网:https://www.oinone.top获取数式Oinone低代码应用平台体验