
oinone提供统一的网络请求底座,基于graphql二次封装
一、初始化
import { HttpClient } from '@kunlun/dependencies';
const http = HttpClient.getInstance();
http.setMiddleware() // 必须设置,请求回调。具体查看文章https://shushi.yuque.com/yqitvf/oinone/vwo80g
http.setBaseURL() // 必须设置,后端请求的路径二、HttpClient详细介绍
获取实例
import { HttpClient } from '@kunlun/dependencies';
const http = HttpClient.getInstance();接口地址
import { HttpClient } from '@kunlun/dependencies';
const http = HttpClient.getInstance();
http.setBaseURL('接口地址');
http.getBaseURL(); // 获取接口地址请求头
import { HttpClient } from '@kunlun/dependencies';
const http = HttpClient.getInstance();
http.setHeader({key: value});variables
import { HttpClient } from '@kunlun/dependencies';
const http = HttpClient.getInstance();
http.setExtendVariables((moduleName: string) => {
 return customFuntion();

});回调
import { HttpClient } from '@kunlun/dependencies';
const http = HttpClient.getInstance();
http.setMiddleware([middleware]);业务使用-query
private http = HttpClient.getInstance();
private getTestQuery = async () => {
 const query = `gql str`;
 const result = await this.http.query('module name', query);
 console.log(result)
 return result.data[`xx`]['xx']; // 返回的接口,打印出result对象层次返回
};业务使用-mutate
private http = HttpClient.getInstance();

private getTestMutate = async () => {
  const mutation = `gql str`;

  const result = await this.http.mutate('module name', mutation);
    console.log(result)
  return result.data[`xx`]['xx']; // 返回的接口,打印出result对象层次返回
};三、如何使用HttpClient
初始化
在项目目录src/main.ts下初始化httpClient
初始化必须要做的事:
-
设置服务接口链接
-
设置接口请求回调
业务实战
前文说到自定义新增宠物表单,让我们在这个基础上加入我们的httpClient;
第一步新增service.ts
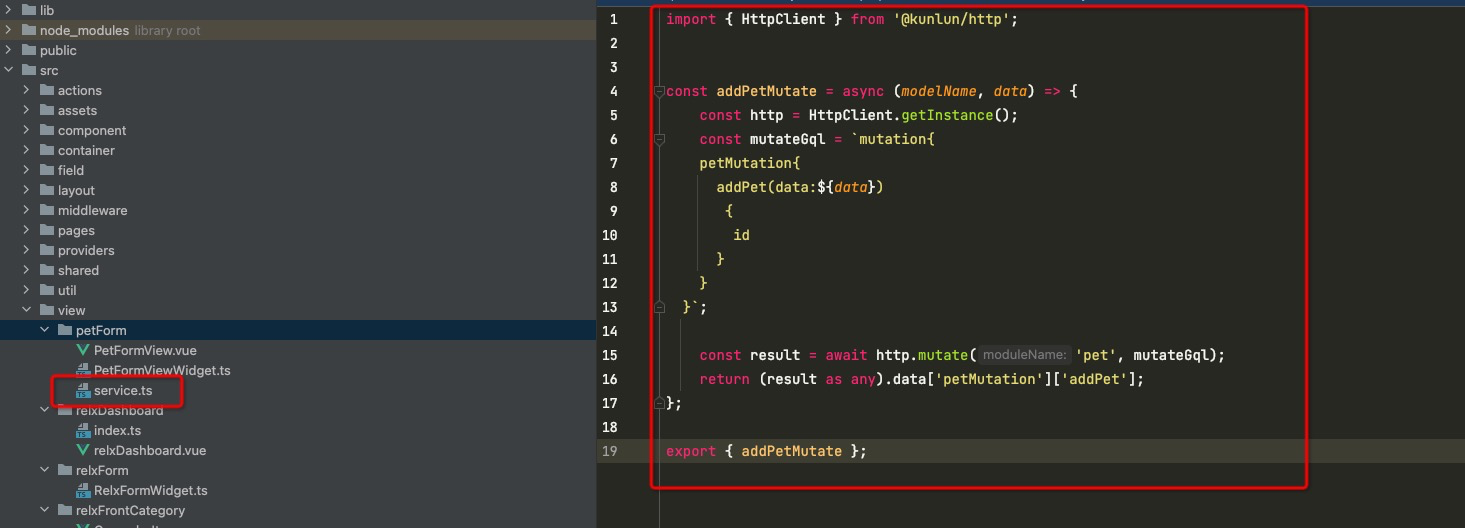

service.ts
import { HttpClient } from '@kunlun/dependencies';

const addPetMutate = async (modelName, data) => {
    const http = HttpClient.getInstance();
    const mutateGql = `mutation{
    petMutation{
      addPet(data:${data})
       {
        id
      }
    }
  }`;

    const result = await http.mutate('pet', mutateGql);
    return (result as any).data['petMutation']['addPet'];
};

export { addPetMutate };第二步业务中使用
import { constructOne, queryOne, SPI, ViewWidget, Widget, IModel, getModelByUrl, getModel, getIdByUrl, FormWidgetV3, CustomWidget, CallChaining } from '@kunlun/dependencies';
import PetFormView from './PetFormView.vue';
// 引入
import { addPetMutate } from './service';

@SPI.ClassFactory(CustomWidget.Token({ widget: 'PetForm' }))
export class PetFormViewWidget extends FormWidgetV3 {
  public initialize(props) {
    super.initialize(props);
    this.setComponent(PetFormView);
    return this;
  }

  /**
   * 数据提交
   * @protected
   */
  @Widget.Reactive()
  @Widget.Inject()
  protected callChaining: CallChaining | undefined;

  private modelInstance!: IModel;

  /**
   * 重要!!!!
   * 当字段改变时修改formData
   * */
  @Widget.Method()
  public onFieldChange(fieldName: string, value) {
    this.setDataByKey(fieldName, value);
  }

  /**
   * 表单编辑时查询数据
   * */
  public async fetchData(content: Record<string, unknown>[] = [], options: Record<string, unknown> = {}, variables: Record<string, unknown> = {}) {
    this.setBusy(true);
    const context: typeof options = { sourceModel: this.modelInstance.model, ...options };
    const fields = this.modelInstance?.modelFields;
    try {
      const id = getIdByUrl();
      const data = (await queryOne(this.modelInstance.model, (content[0] || { id }) as Record<string, string>, fields, variables, context)) as Record<string, unknown>;

      this.loadData(data);
      this.setBusy(false);
      return data;
    } catch (e) {
      console.error(e);
    } finally {
      this.setBusy(false);
    }
  }

  /**
   * 新增数据时获取表单默认值
   * */
  @Widget.Method()
  public async constructData(content: Record<string, unknown>[] = [], options: Record<string, unknown> = {}, variables: Record<string, unknown> = {}) {
    this.setBusy(true);
    const context: typeof options = { sourceModel: this.modelInstance.model, ...options };
    const fields = this.modelInstance.modelFields;
    const reqData = content[0] || {};
    const data = await constructOne(this.modelInstance!.model, reqData, fields, variables, context);
    return data as Record<string, unknown>;
  }

  @Widget.Method()
  private async reloadData() {
    const data = await this.constructData();
    // 覆盖formData
    this.setData(data);
  }

  @Widget.Method()
  public onChange(name, value) {
    this.formData[name] = value;
  }

  protected async mounted() {
    super.mounted();
    const modelModel = getModelByUrl();
    this.modelInstance = await getModel(modelModel);
    this.fetchData();
    // 数据提交钩子函数!!!
    this.callChaining?.callBefore(() => {
      return this.formData;
    });
  }

  @Widget.Method()
  private async addPet() {
    // 调用
    const data = await addPetMutate('petModule', this.getData());
  }
}Oinone社区 作者:史, 昂原创文章,如若转载,请注明出处:https://doc.oinone.top/oio4/9305.html
访问Oinone官网:https://www.oinone.top获取数式Oinone低代码应用平台体验